


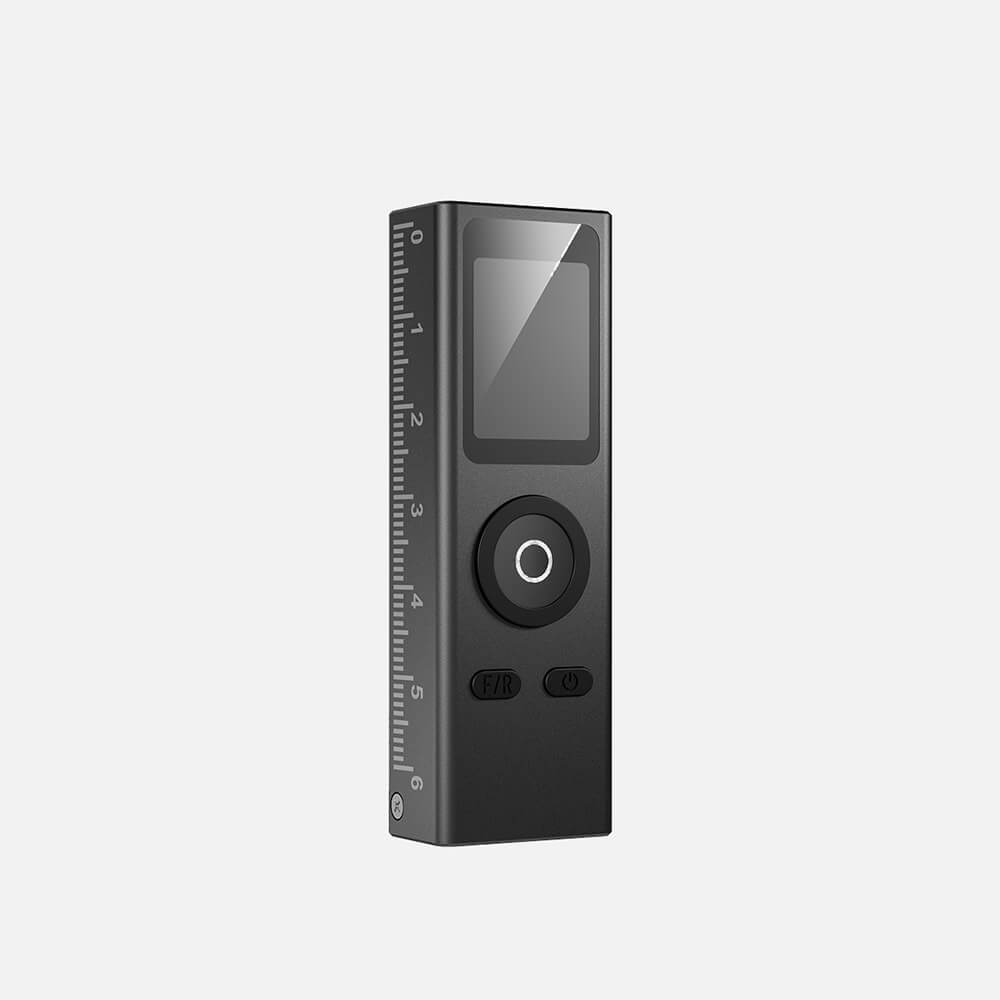
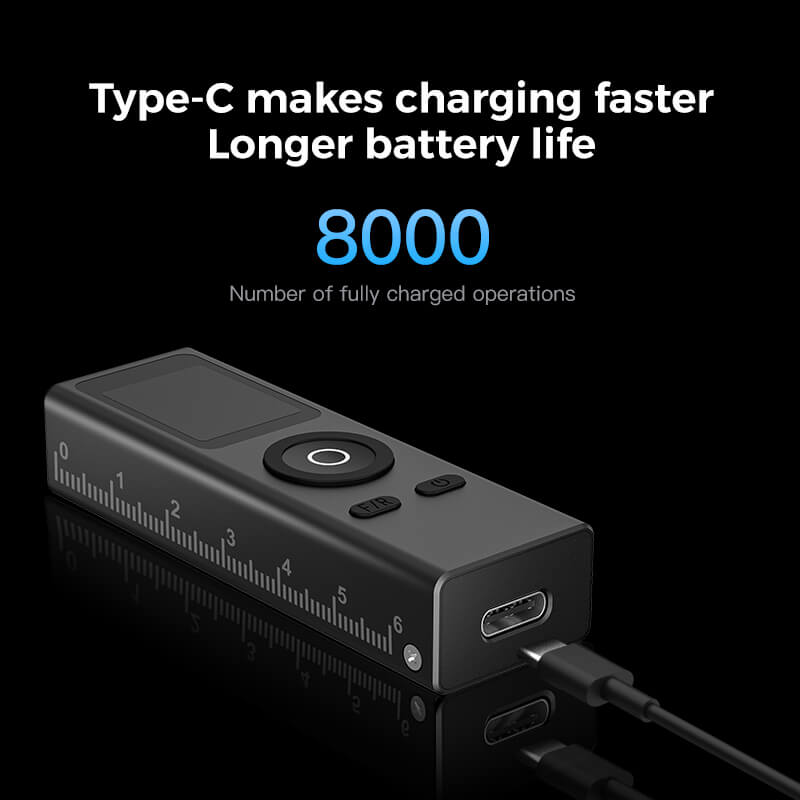
NEW PRODUCTS

NEW PRODUCTS
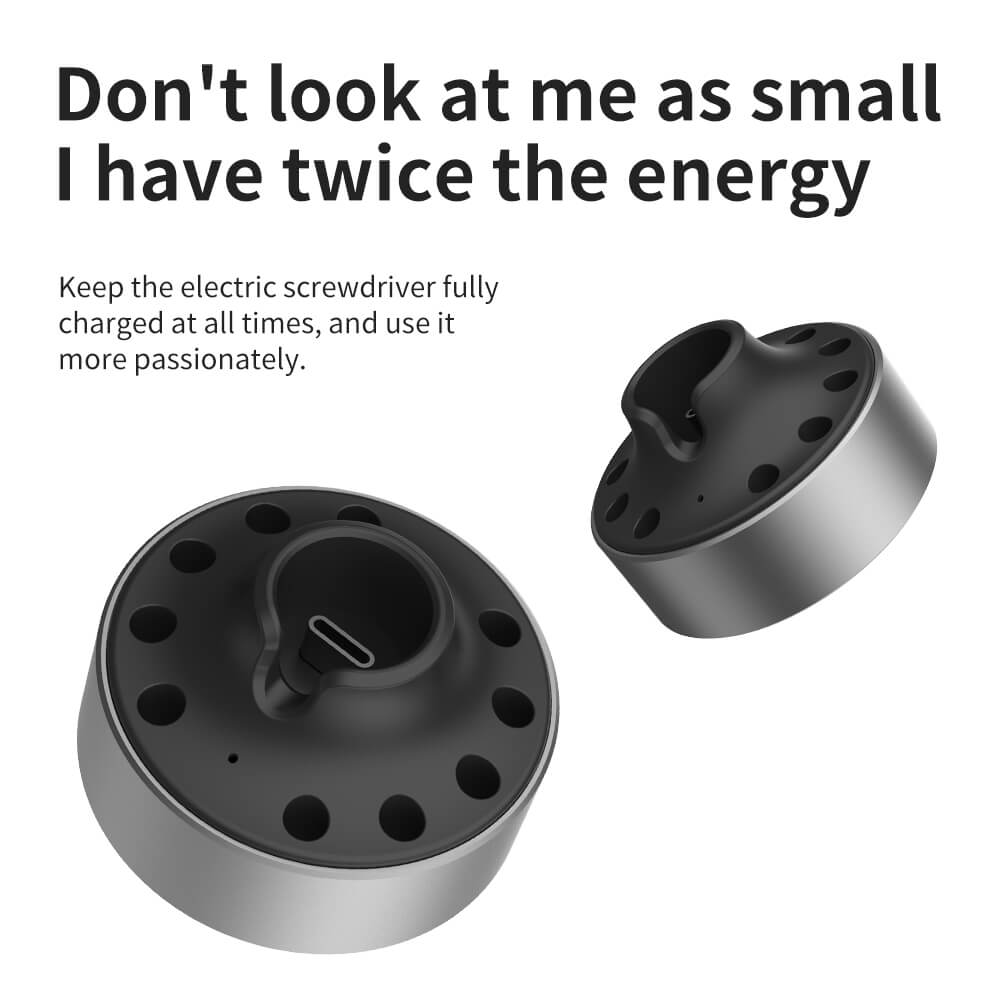
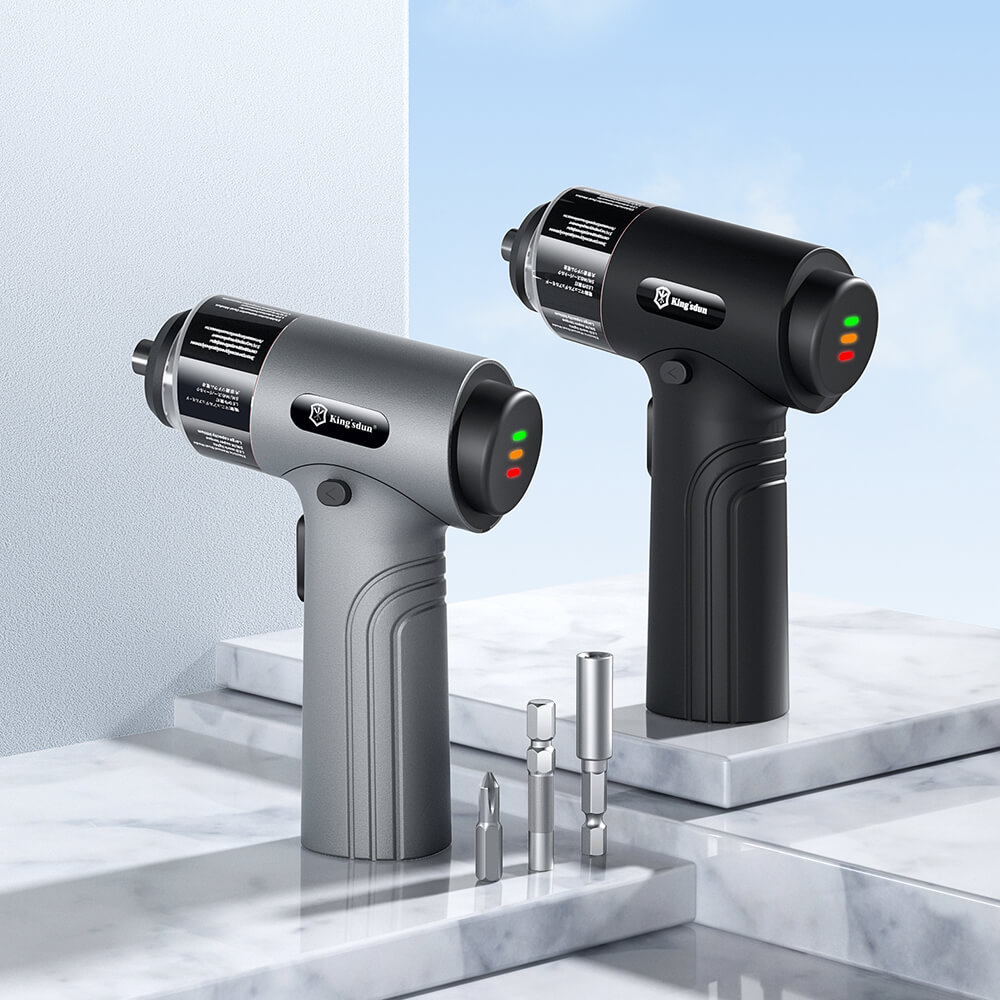
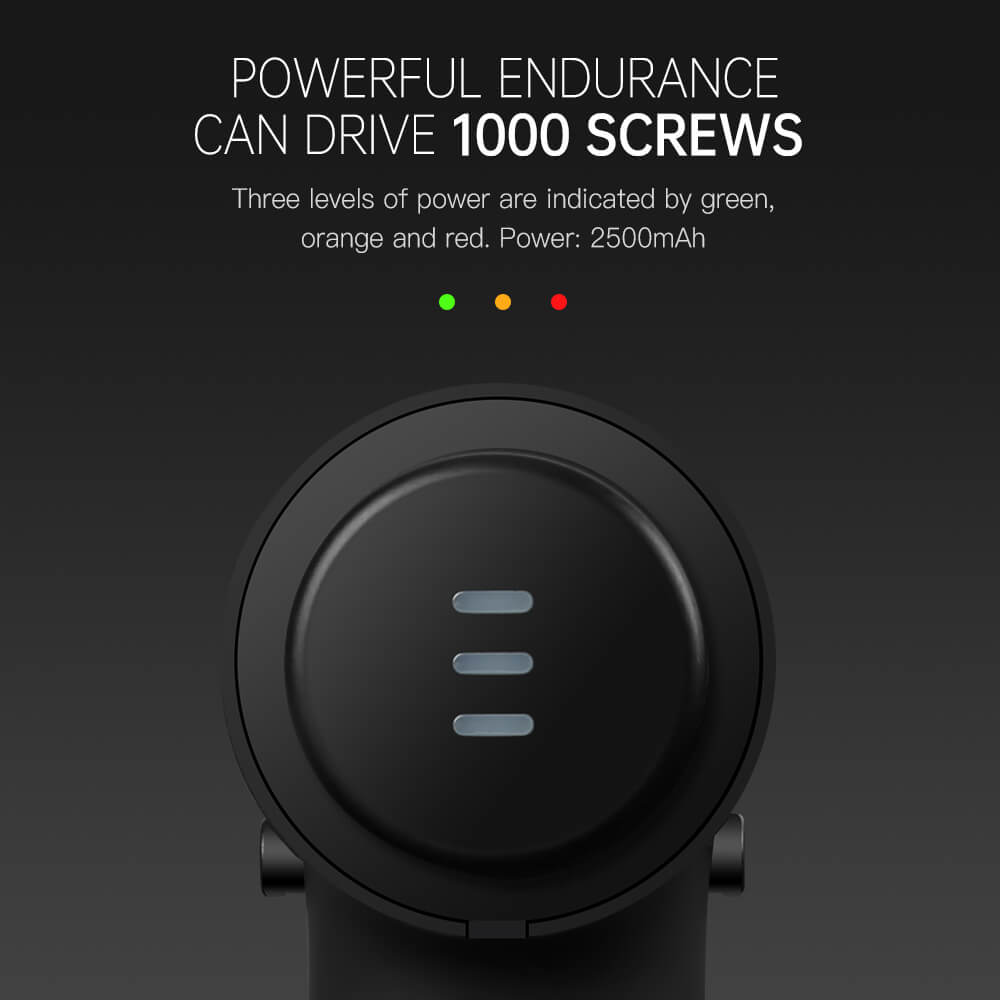
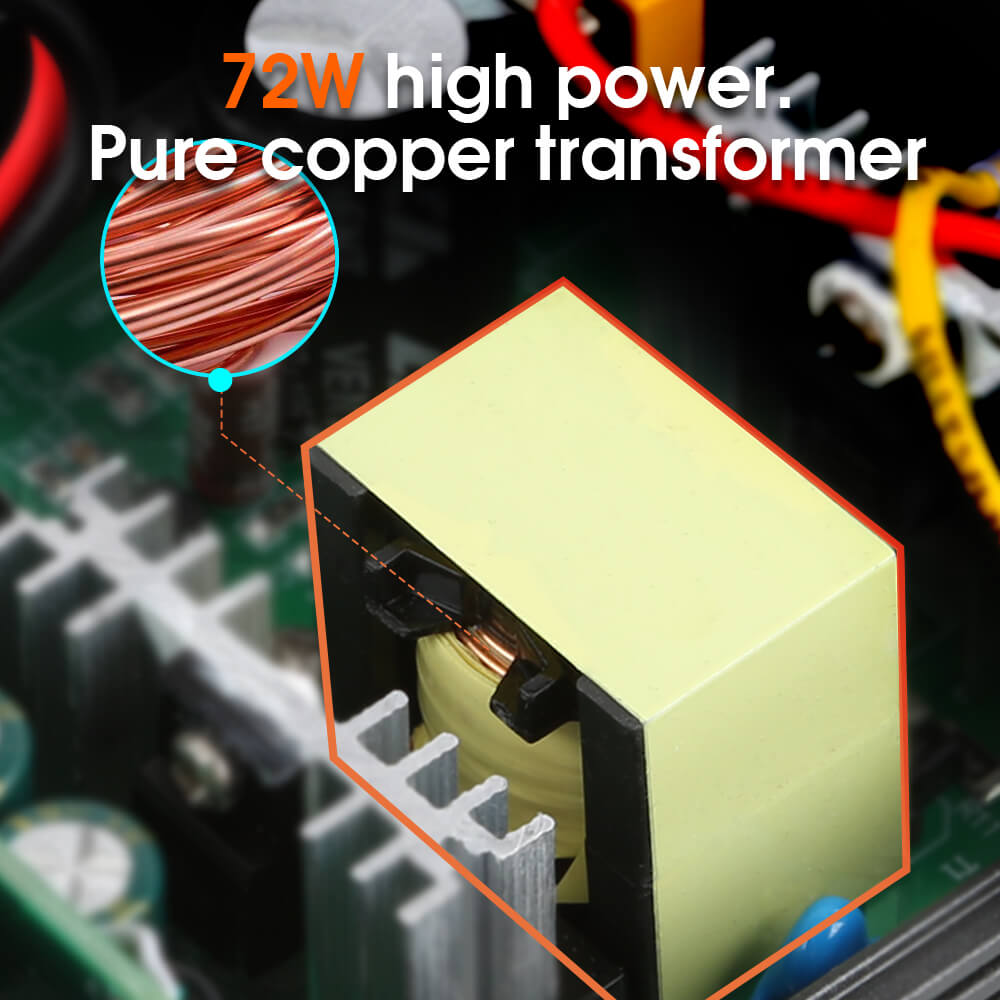
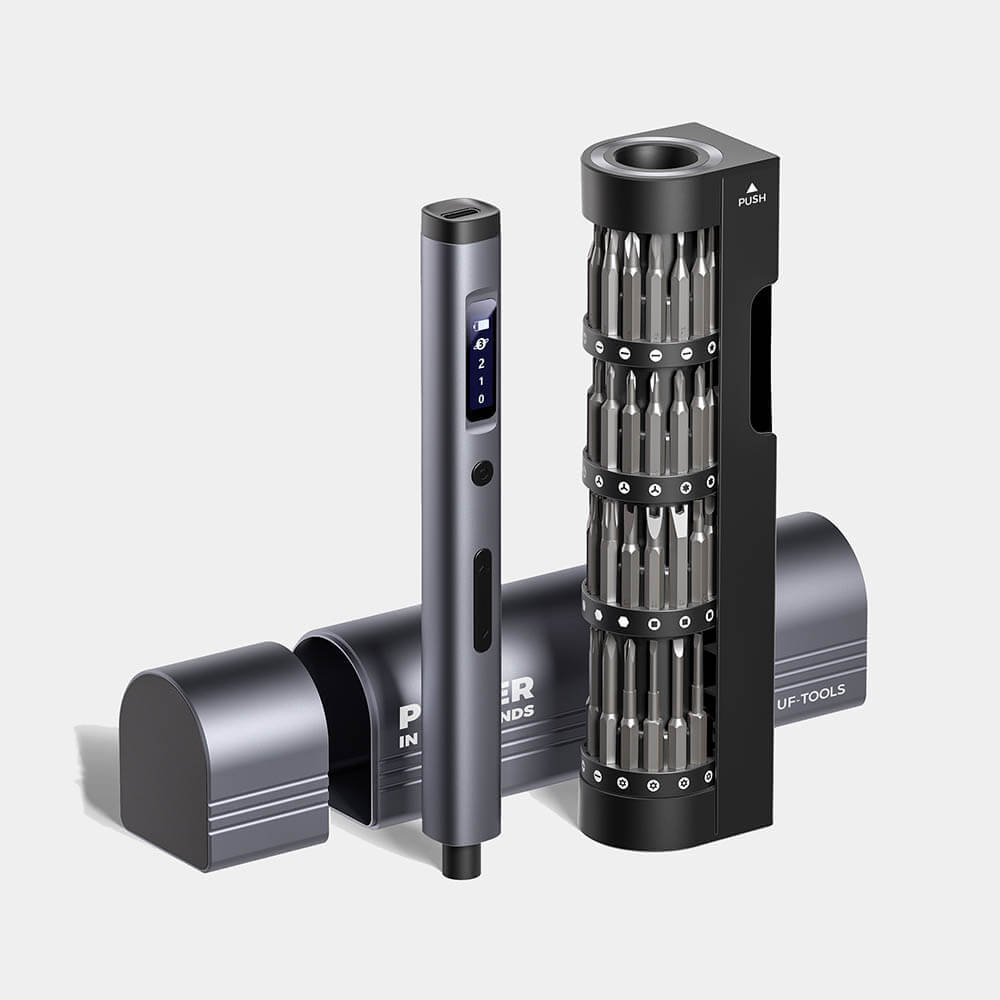
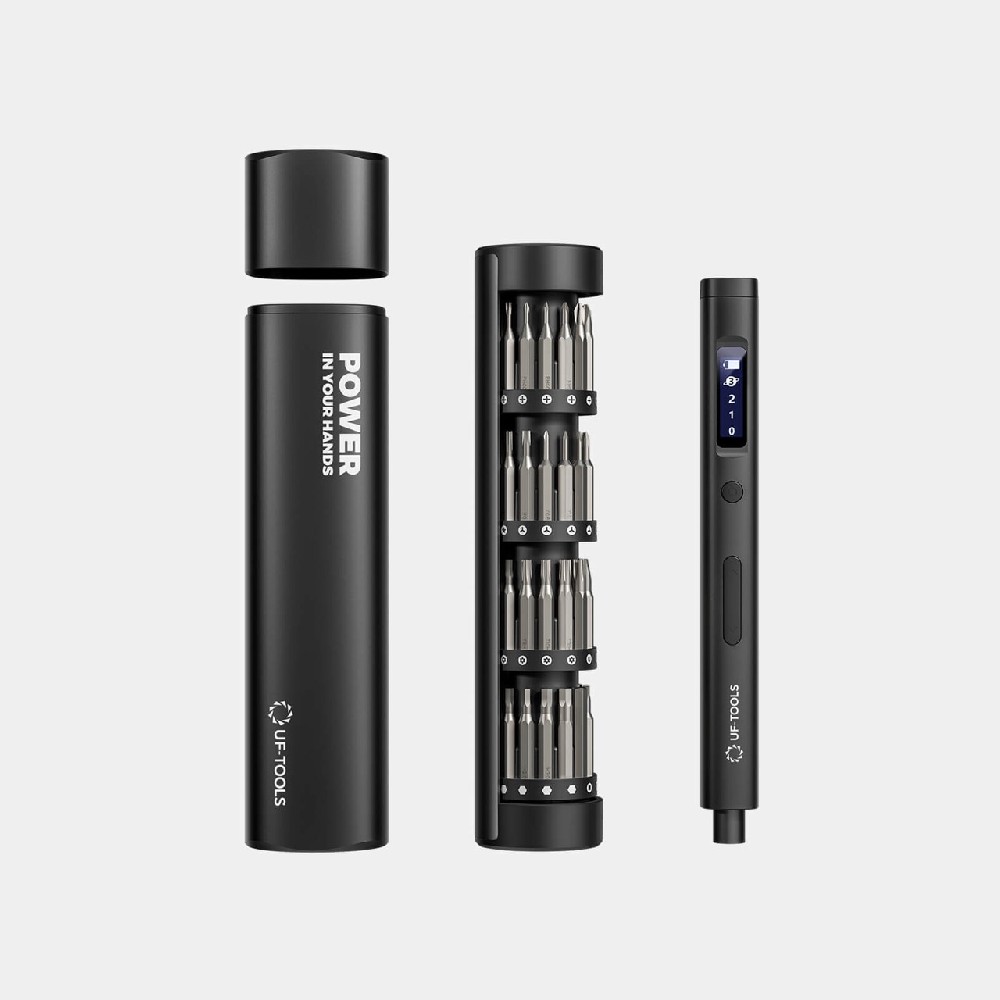
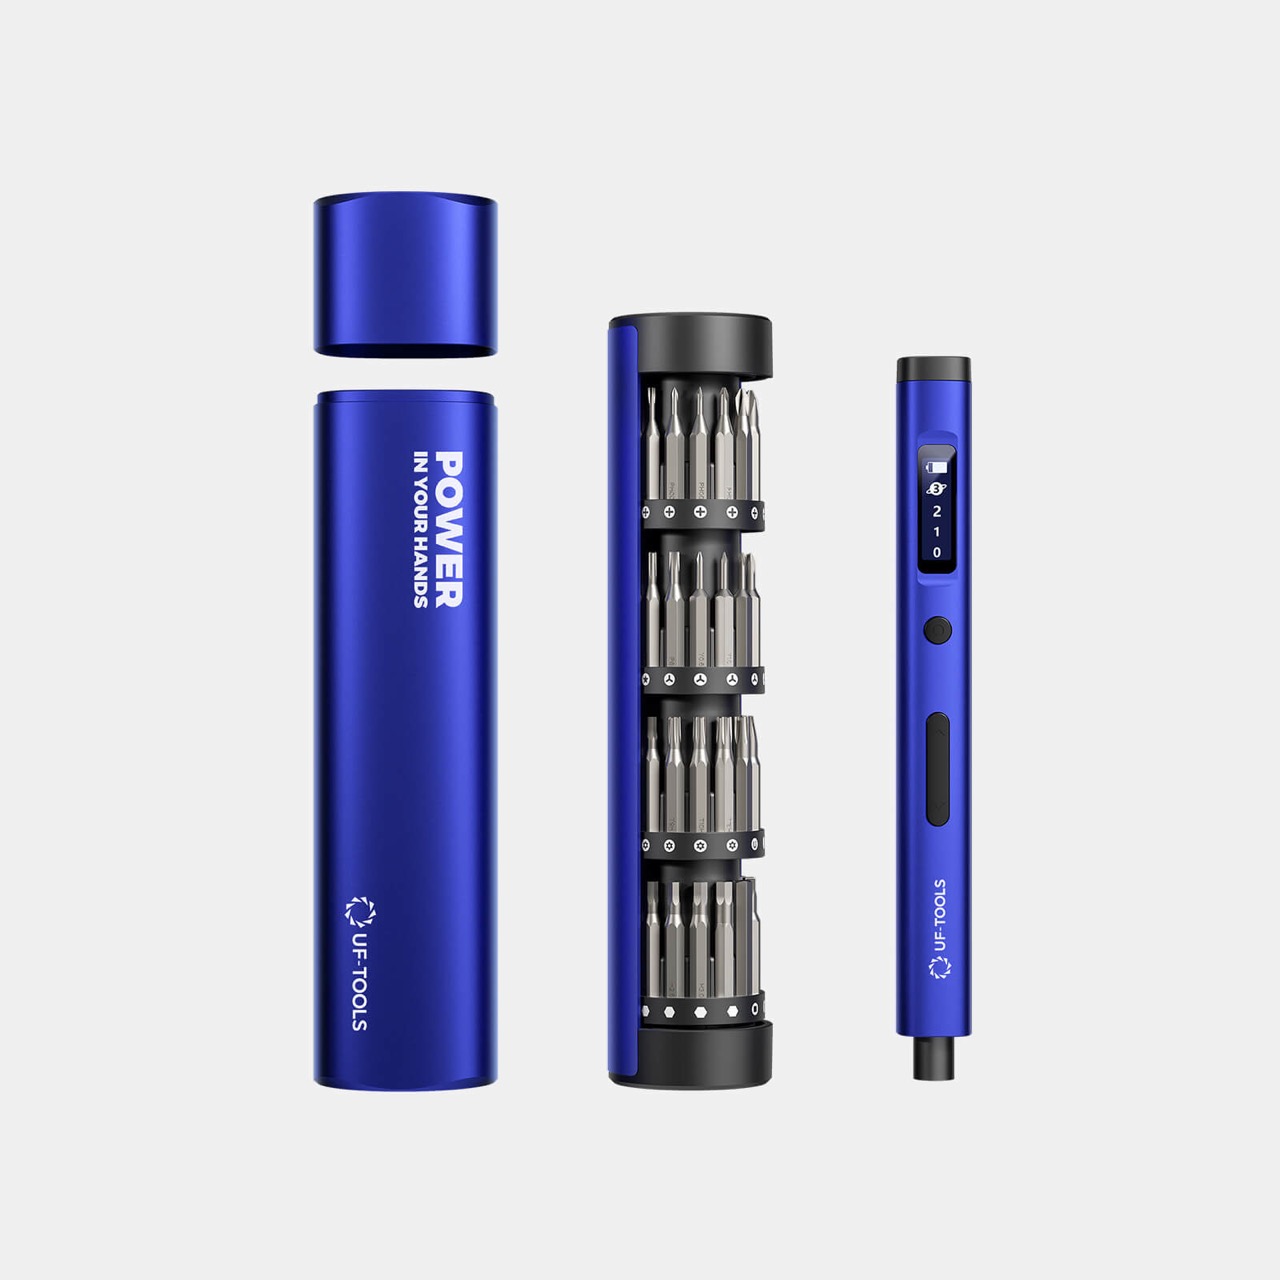
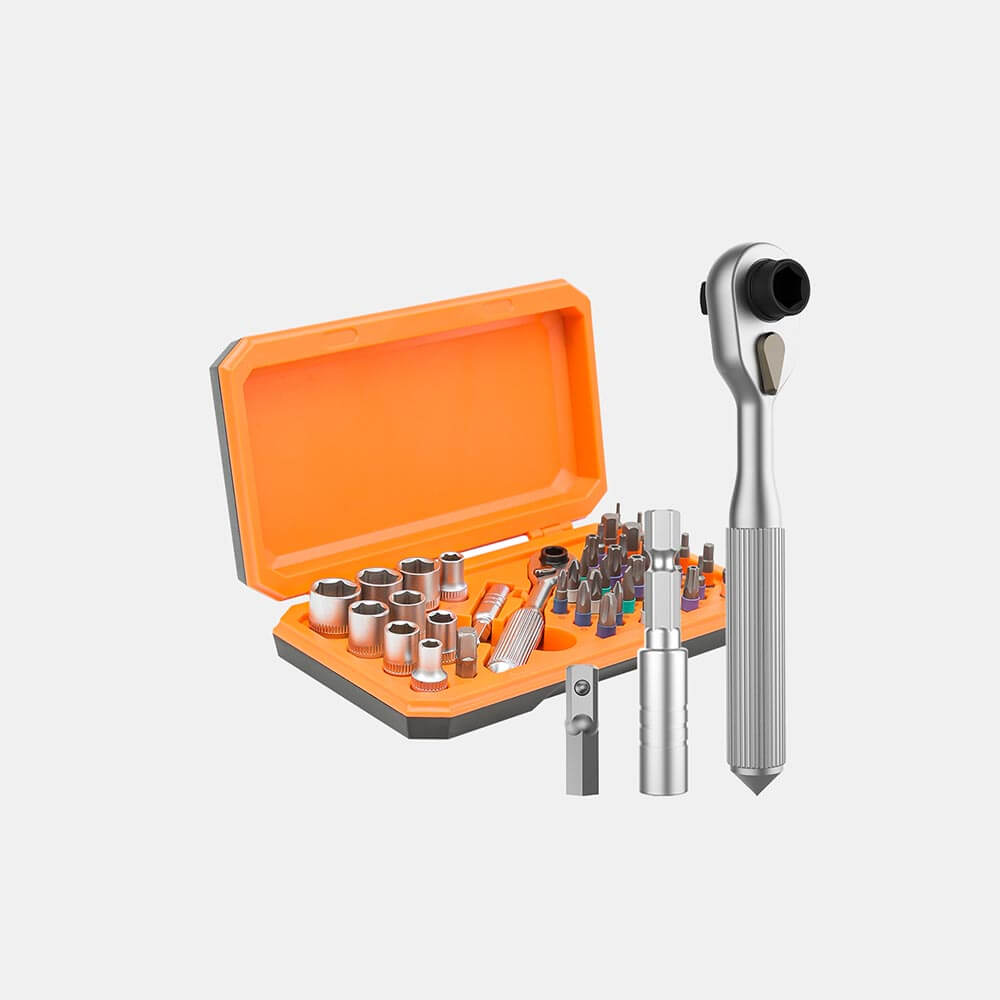
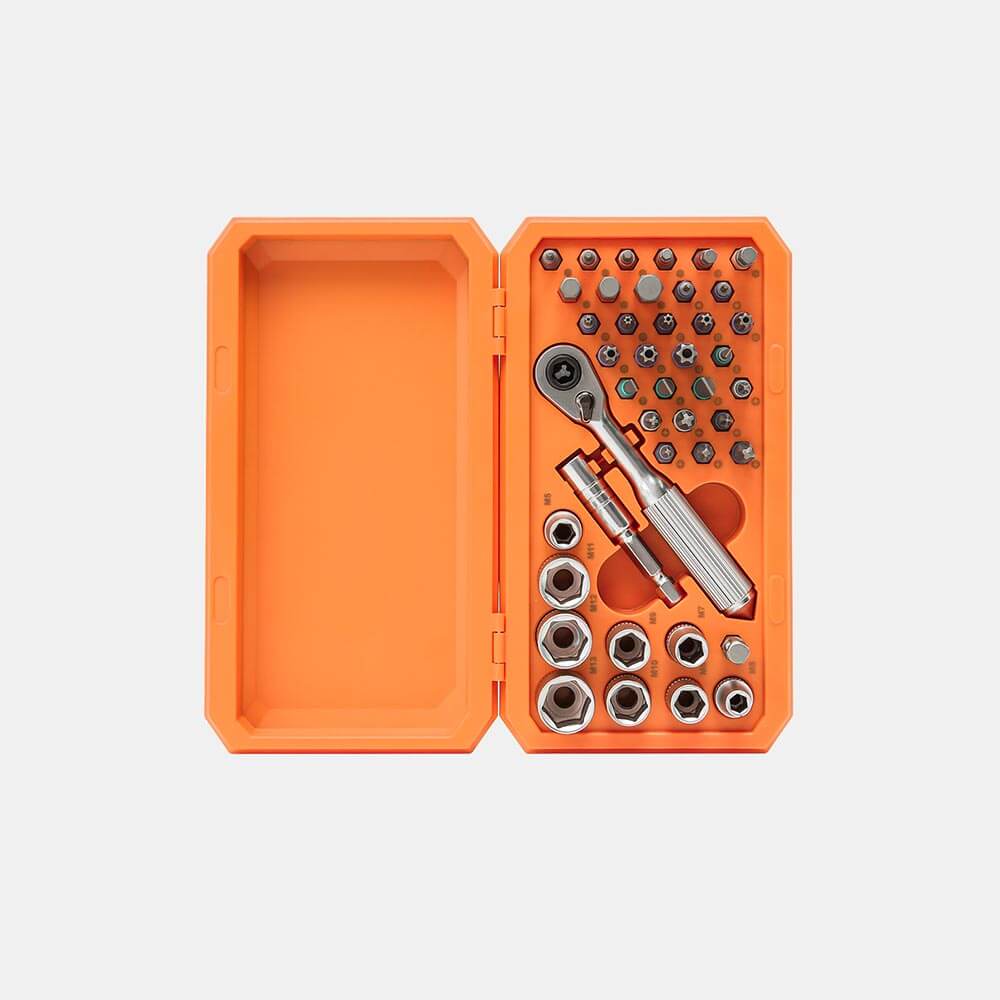
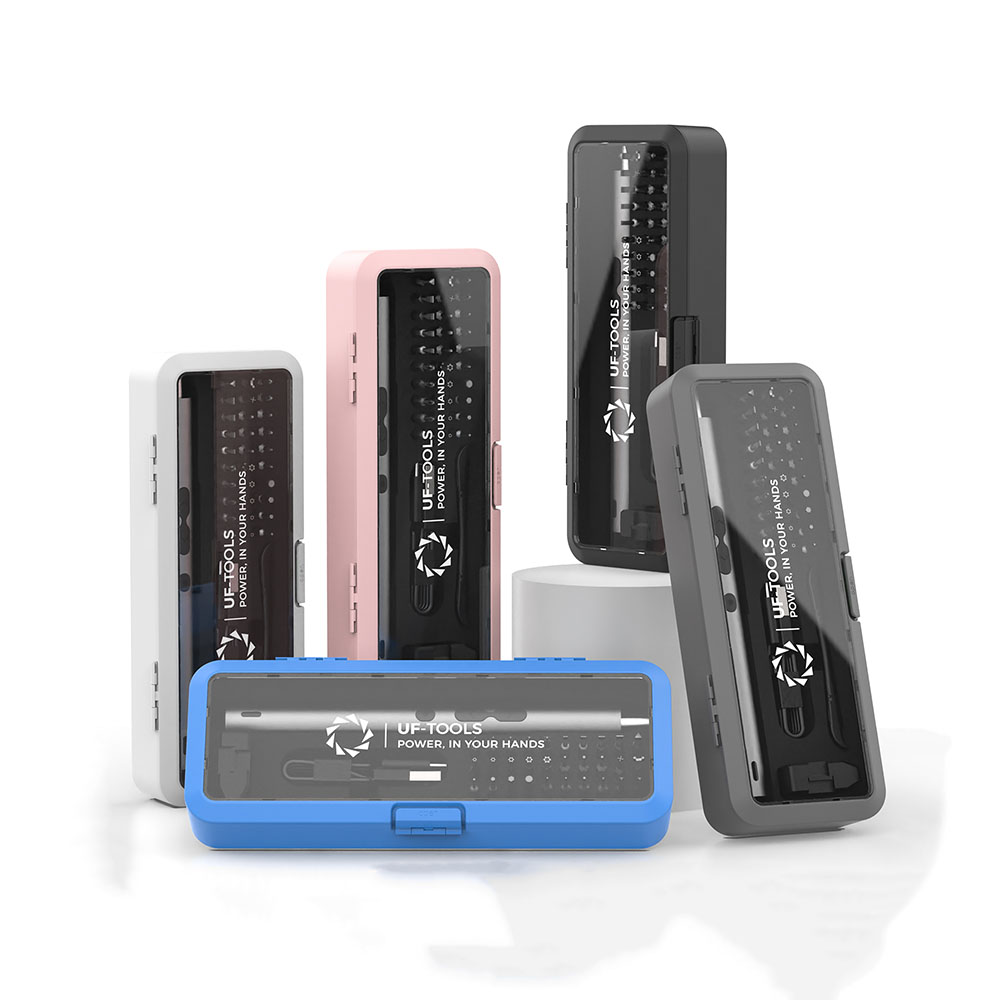
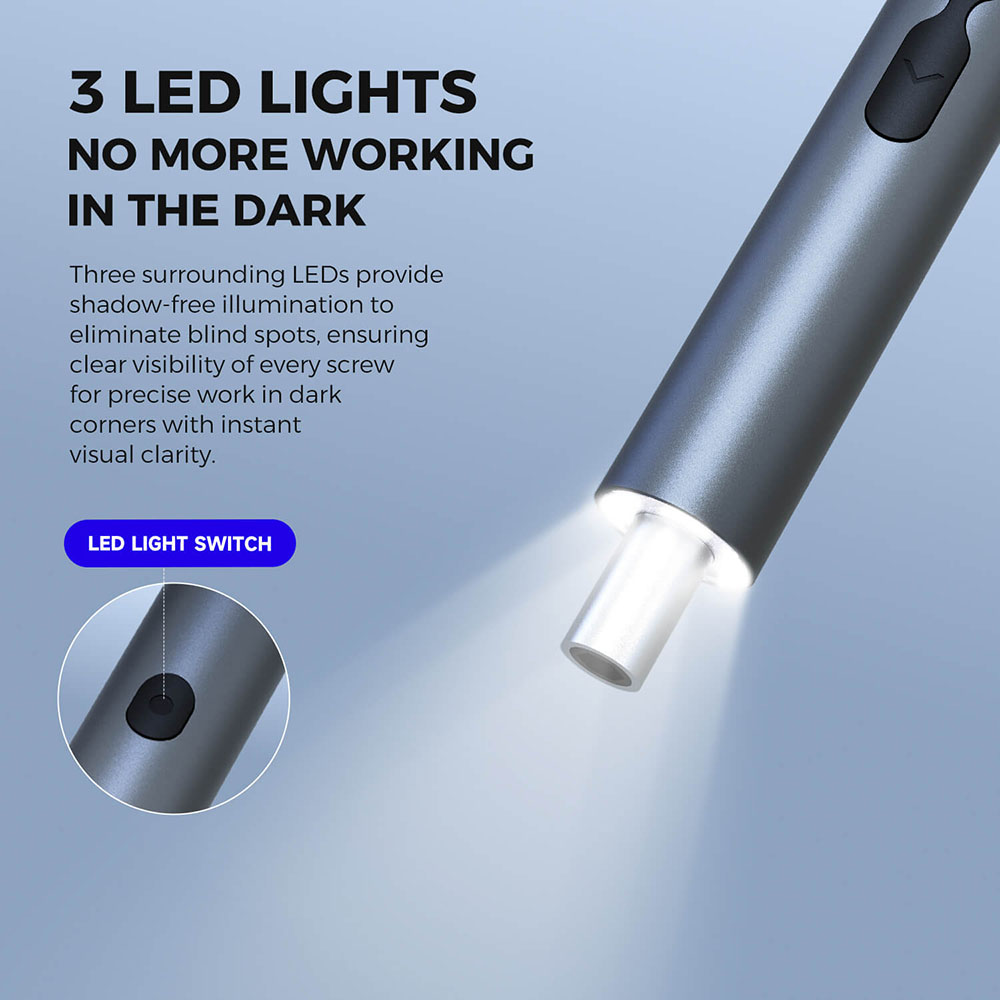
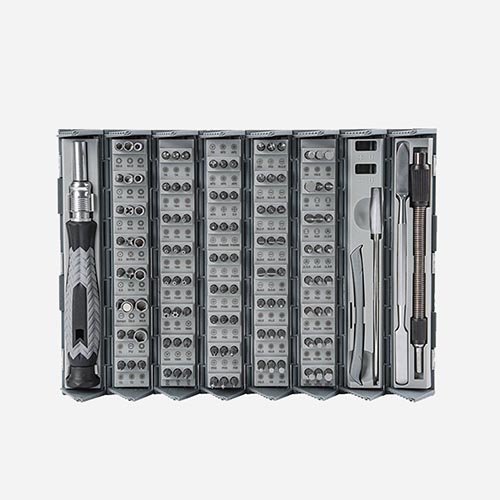
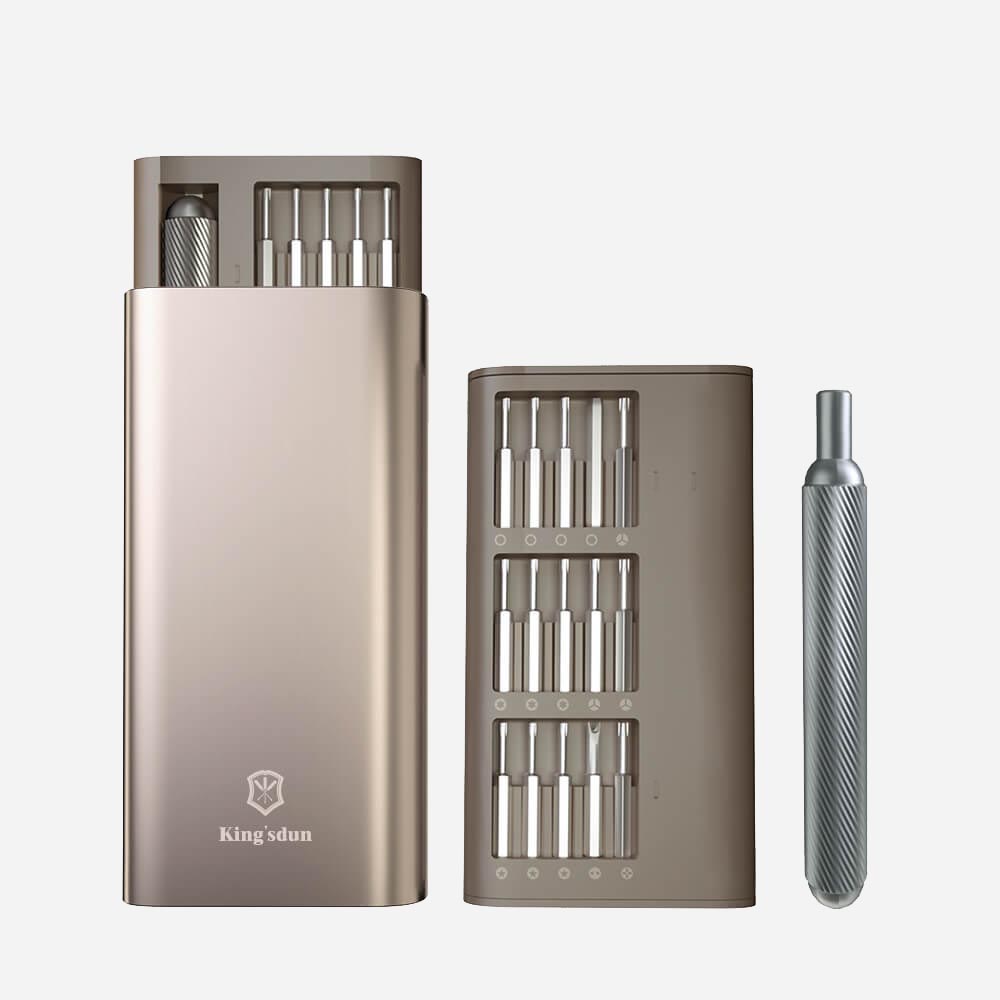
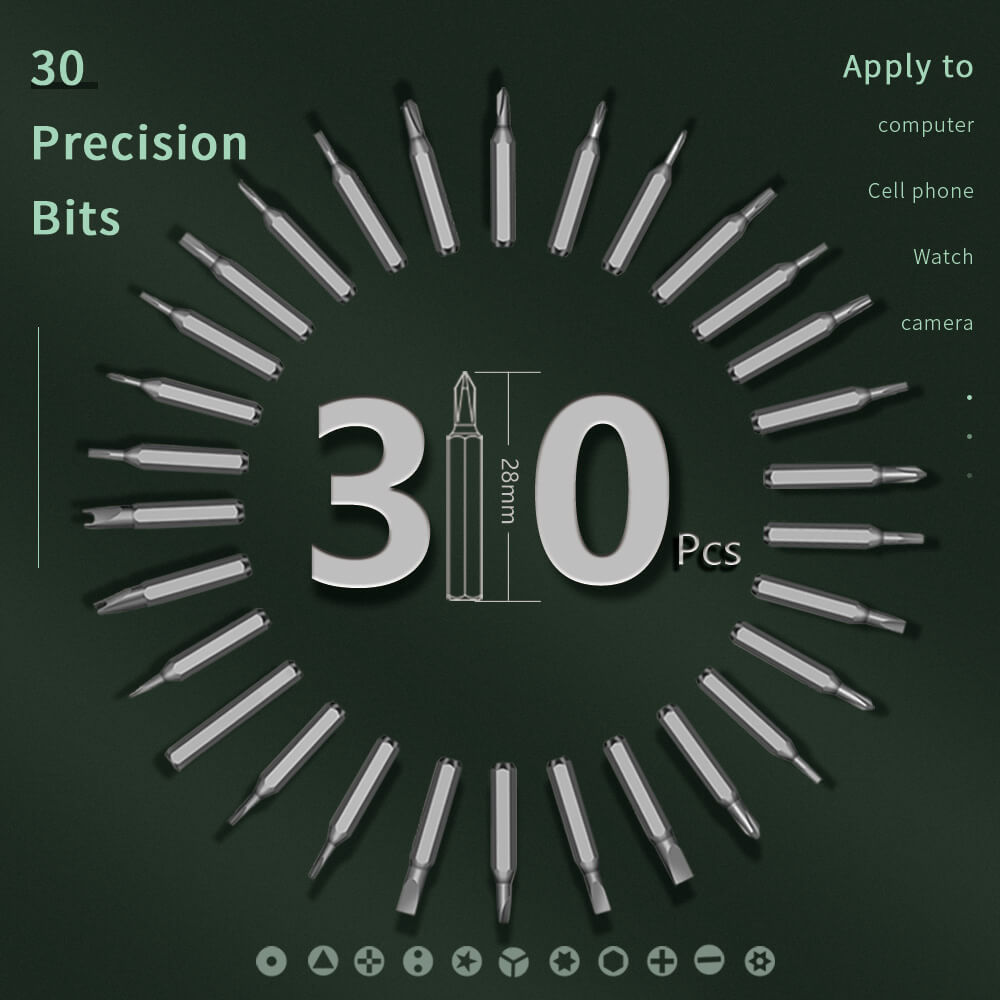
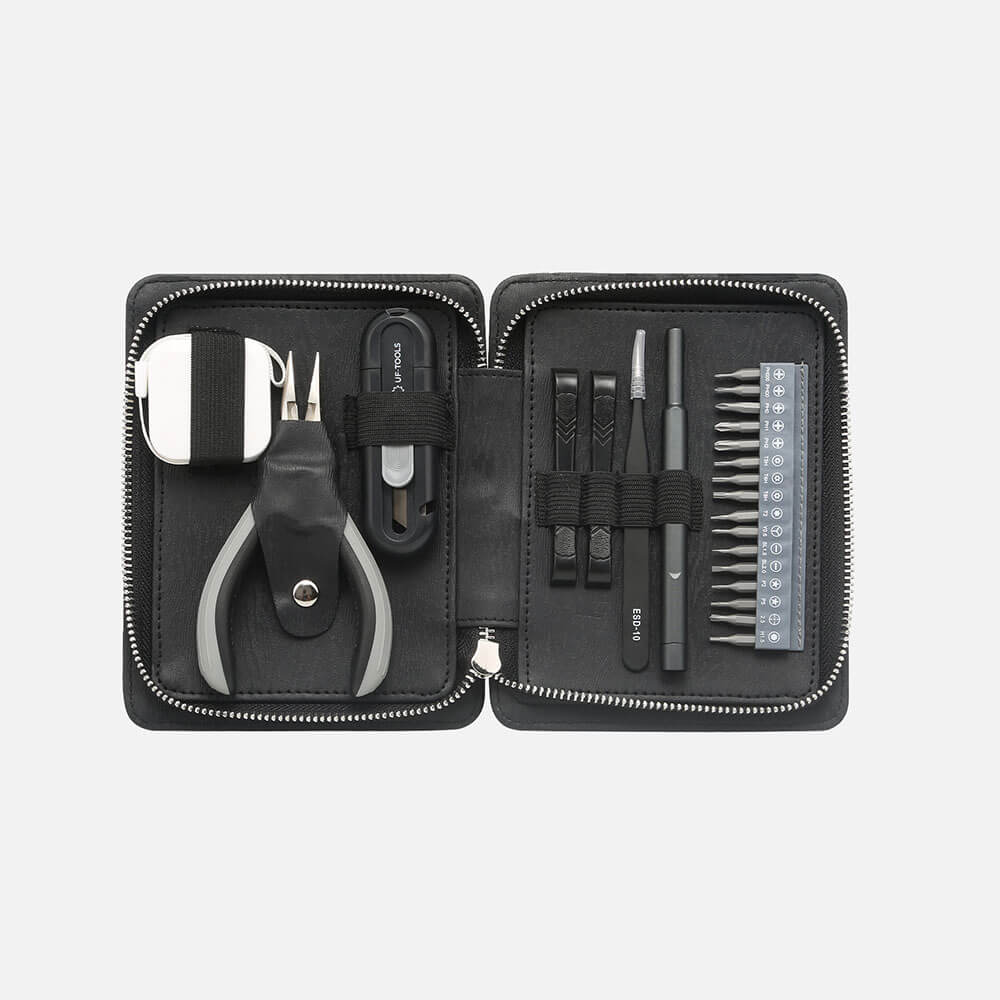
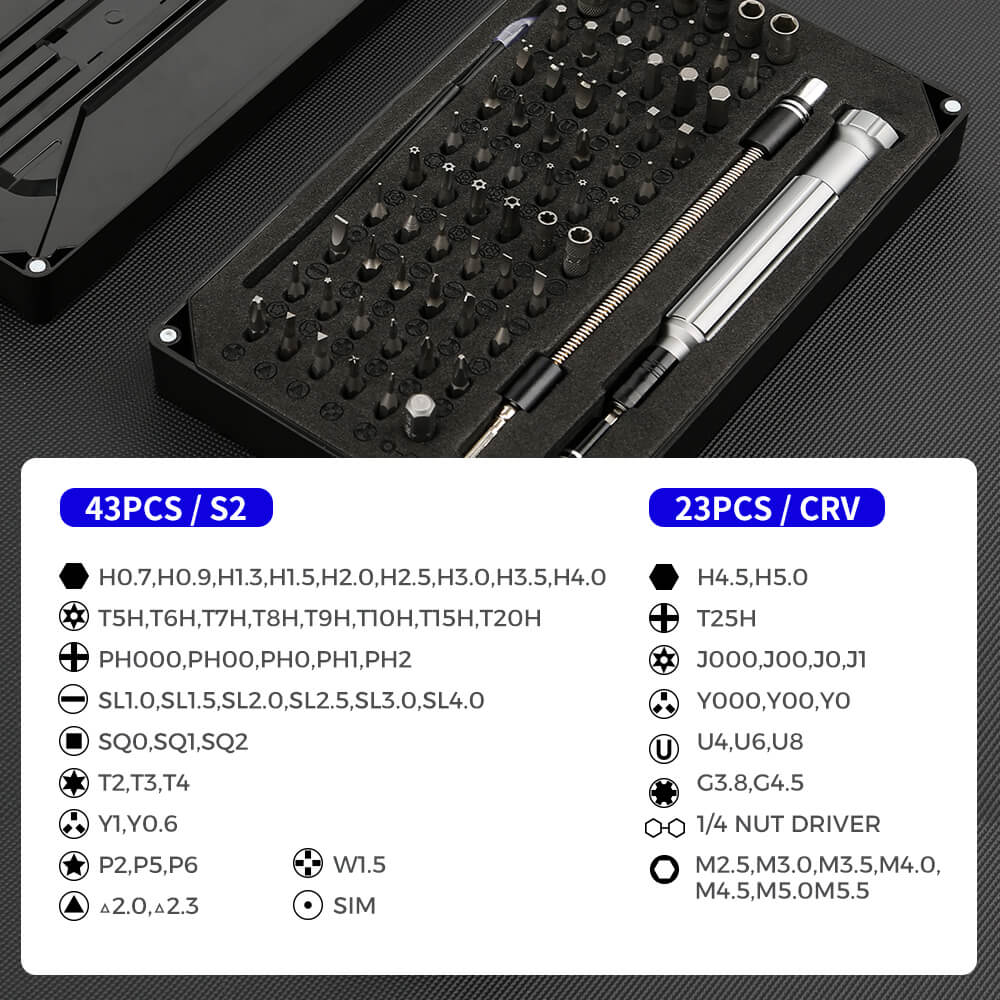
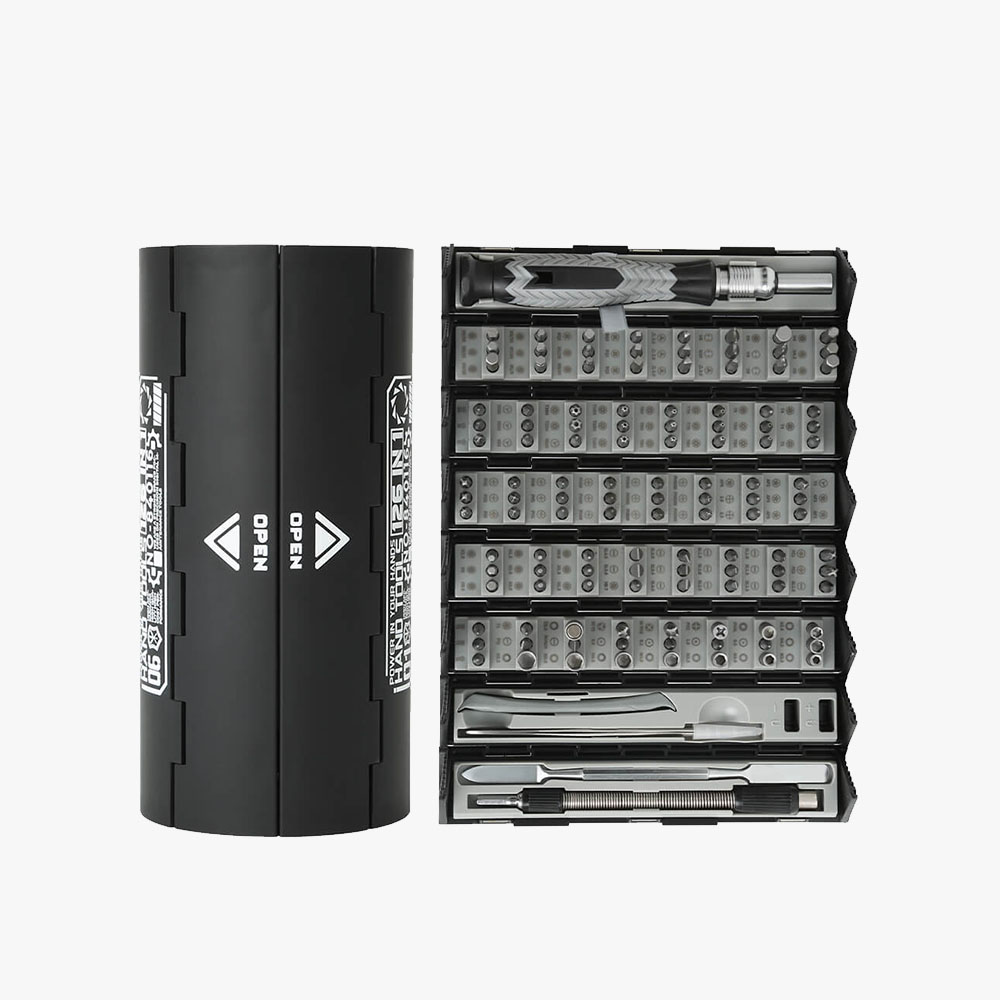
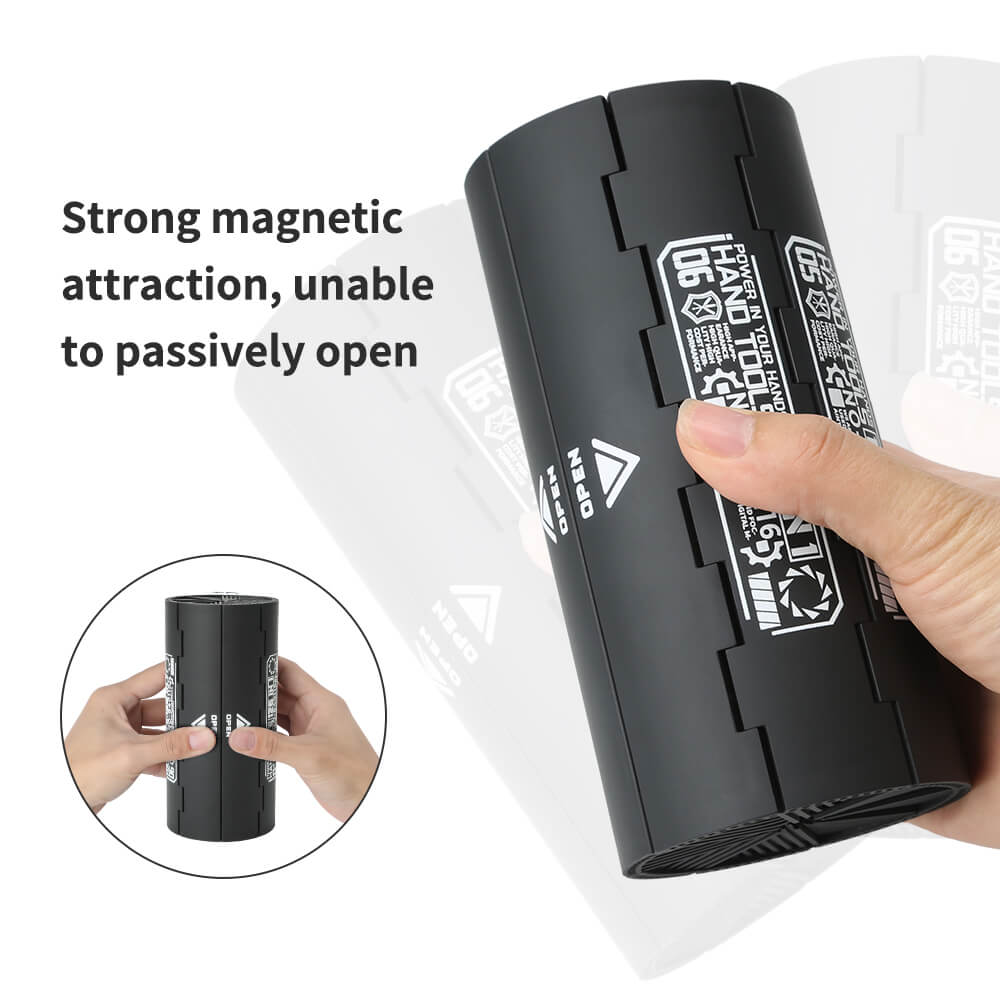
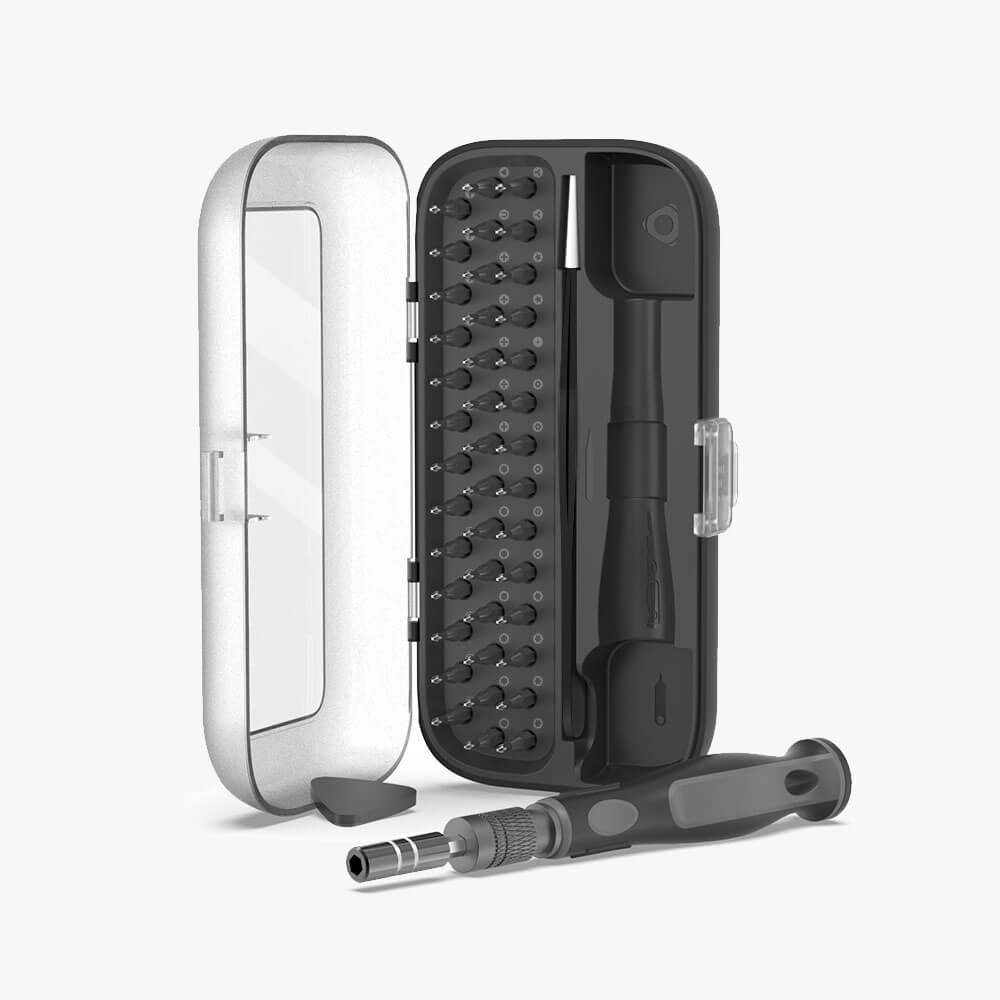
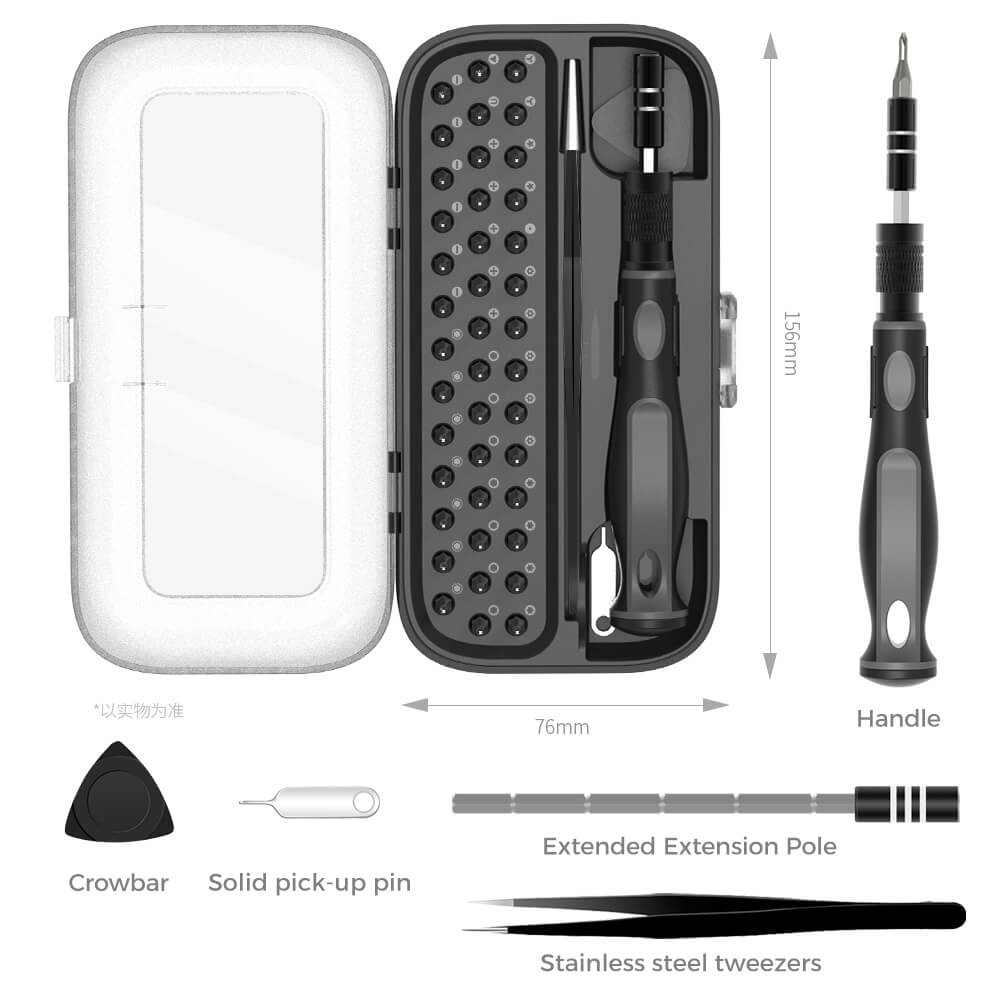
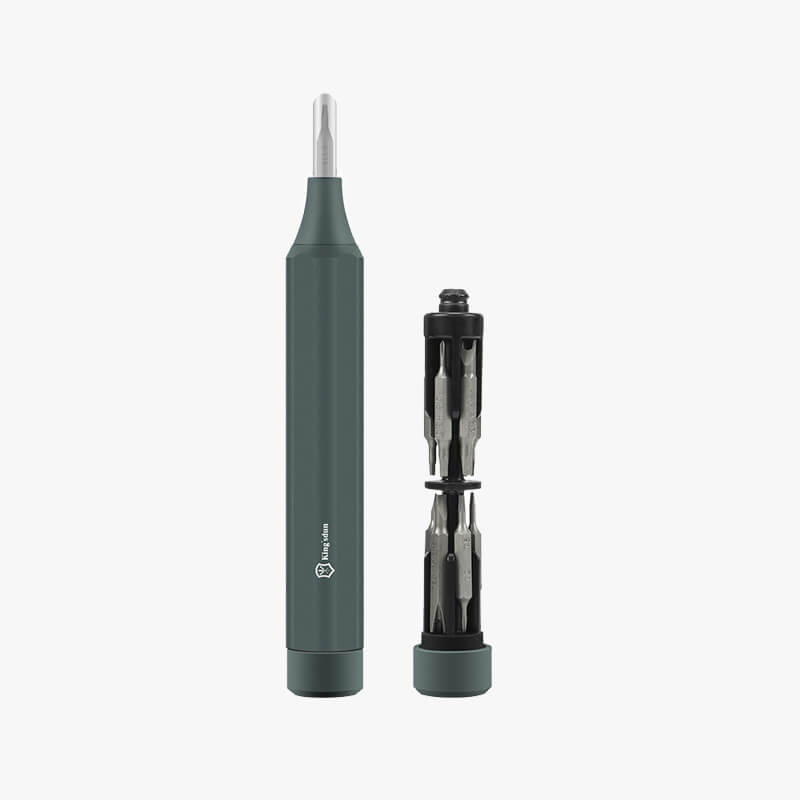
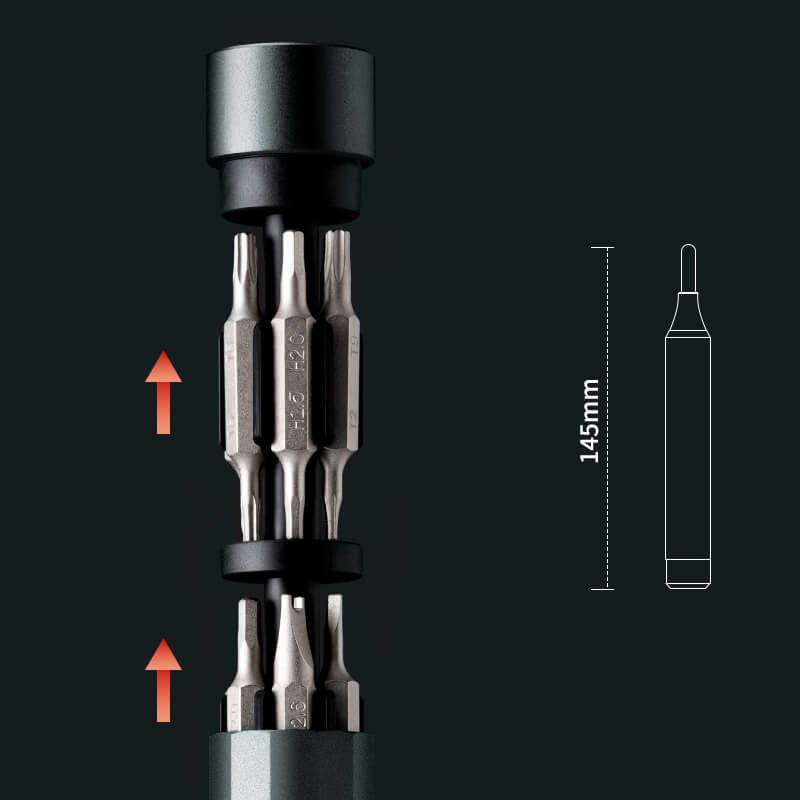

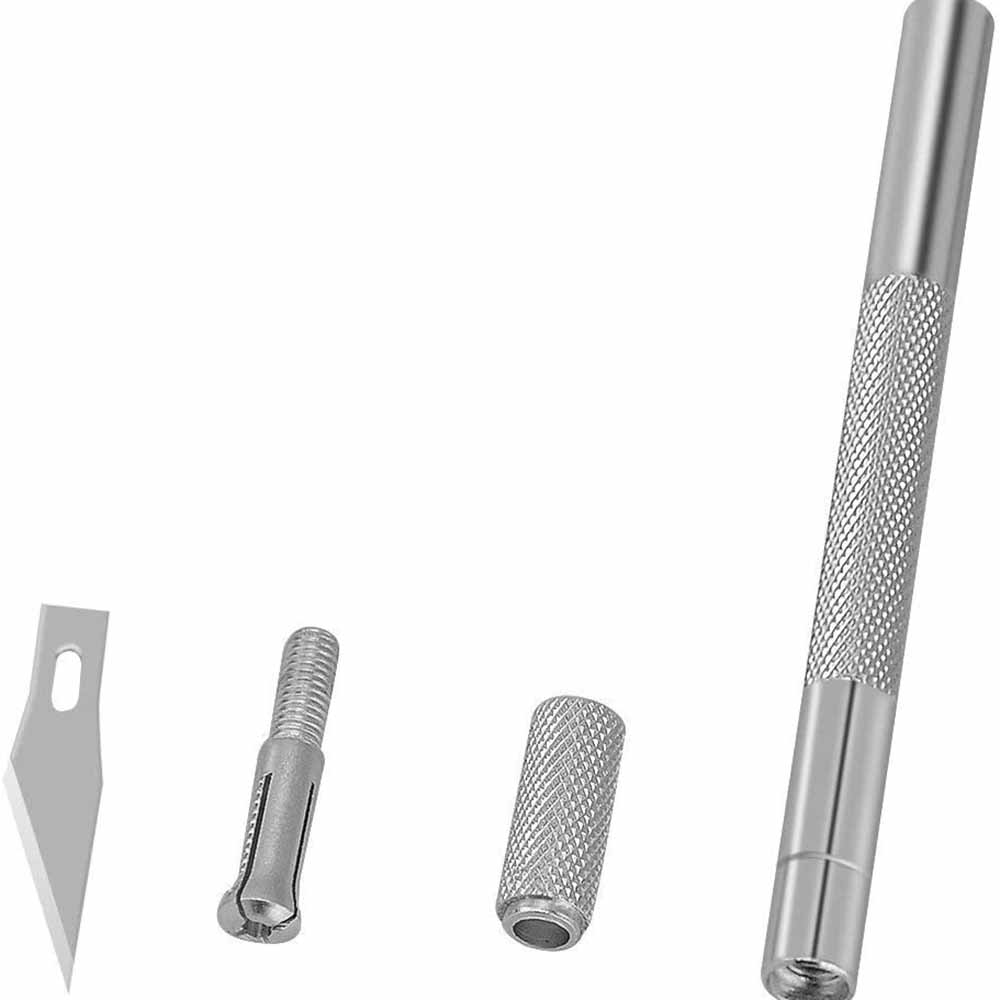
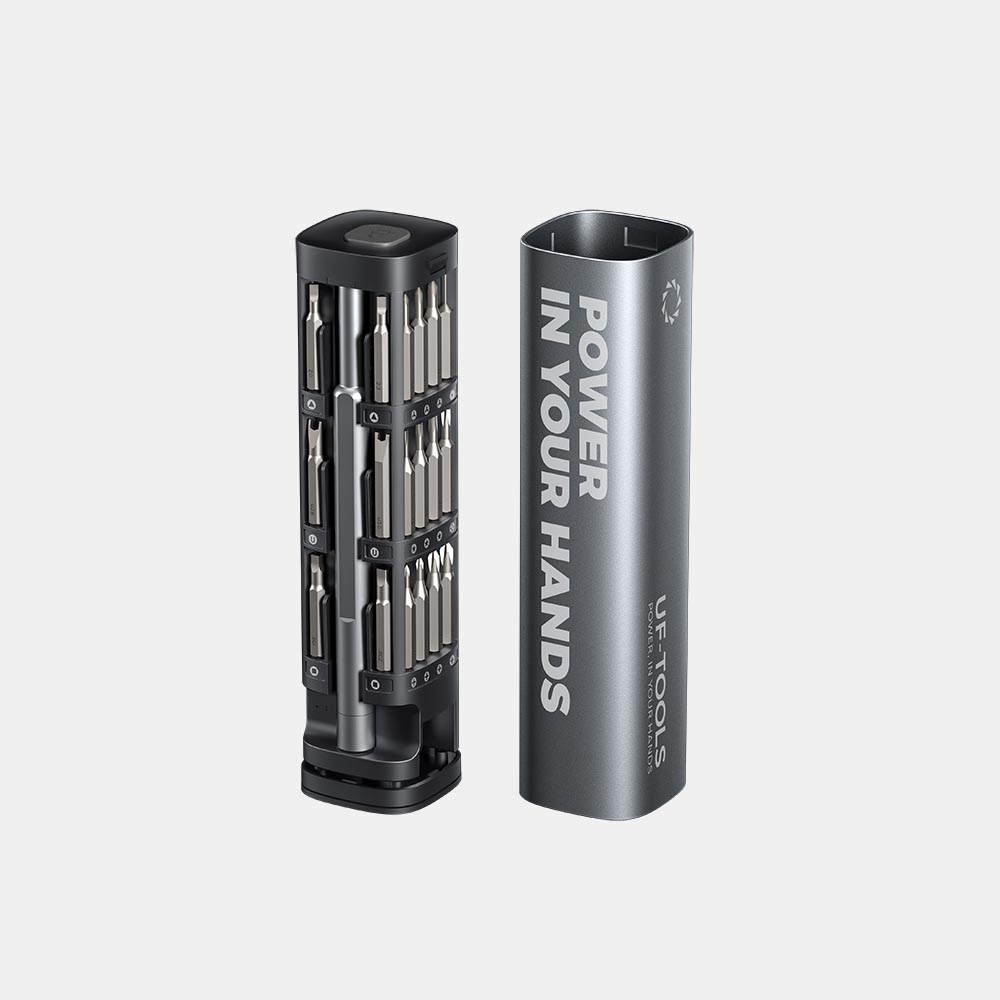
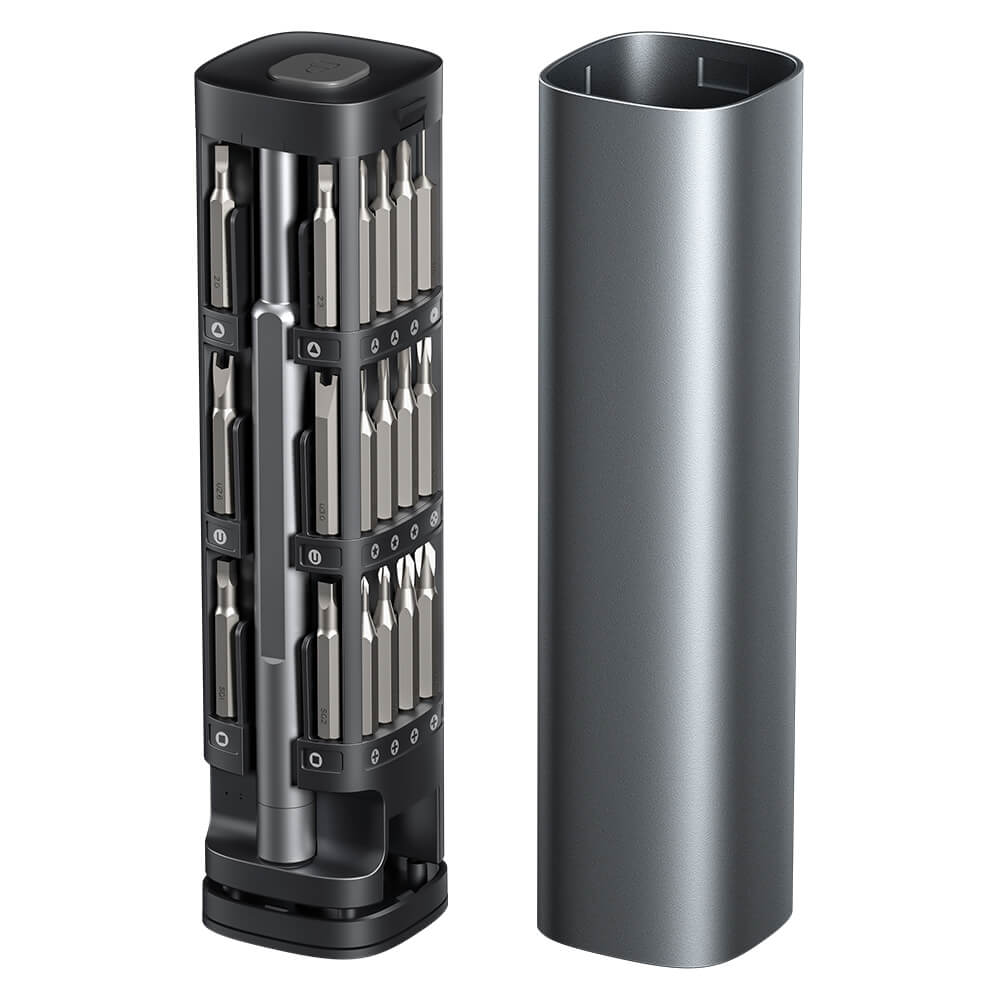
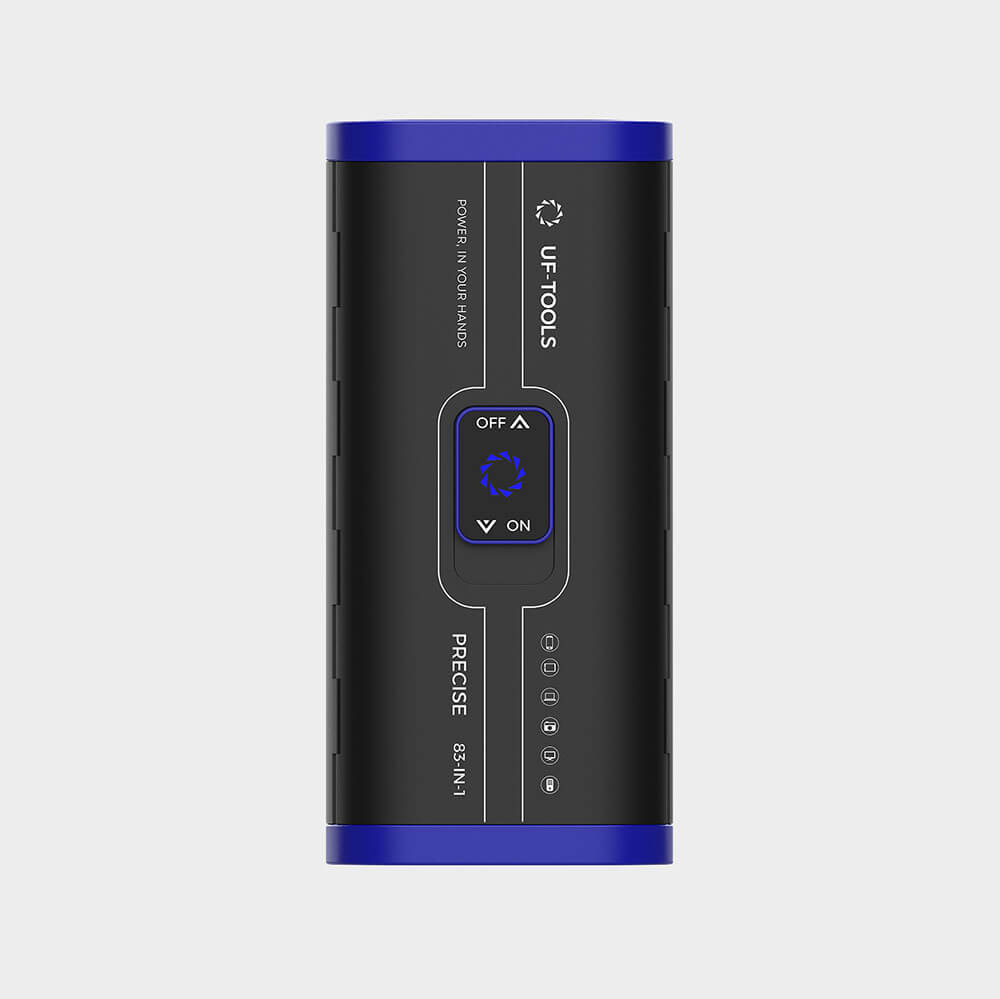
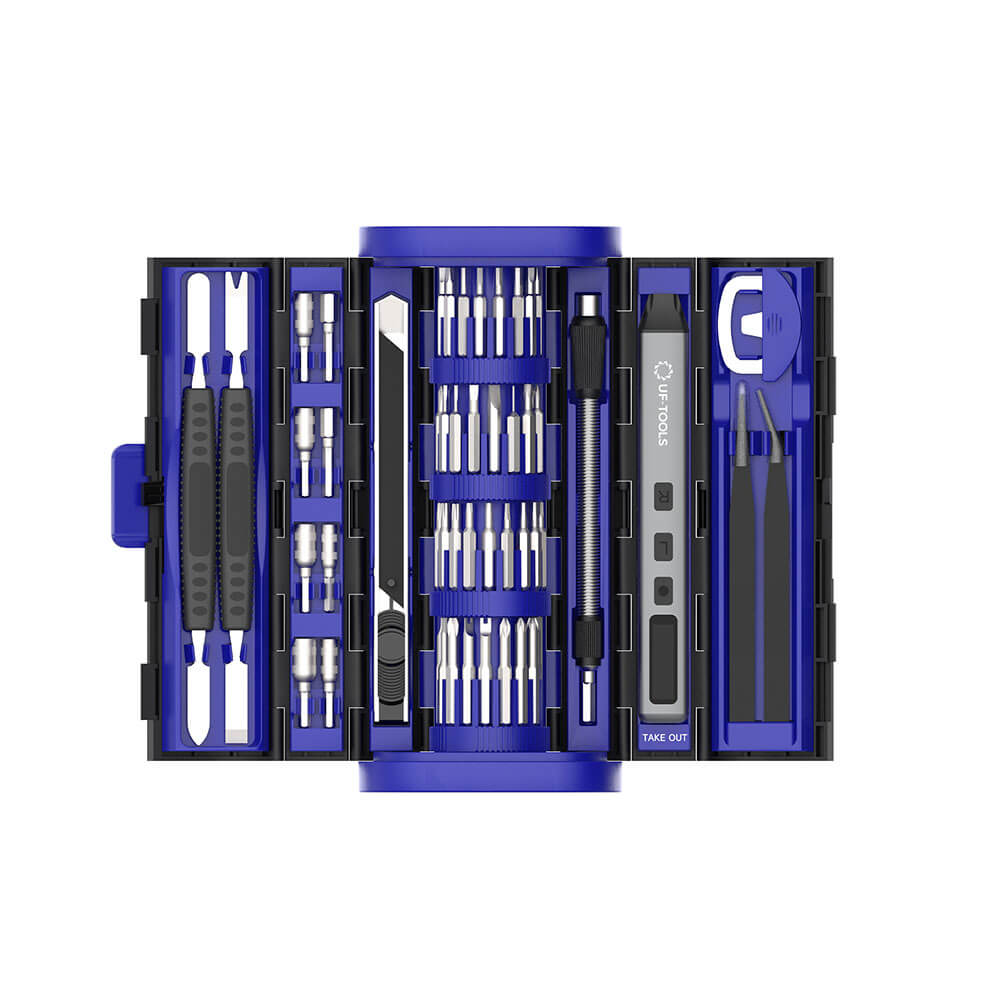
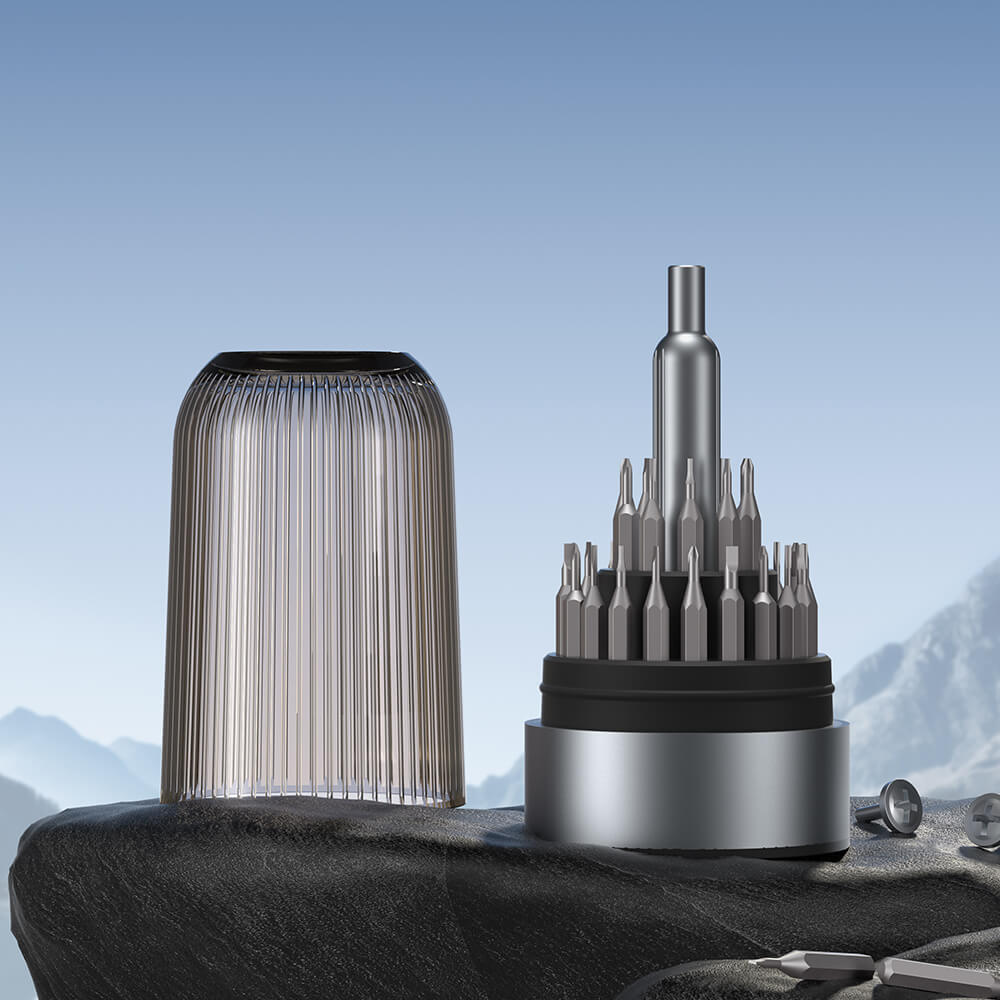
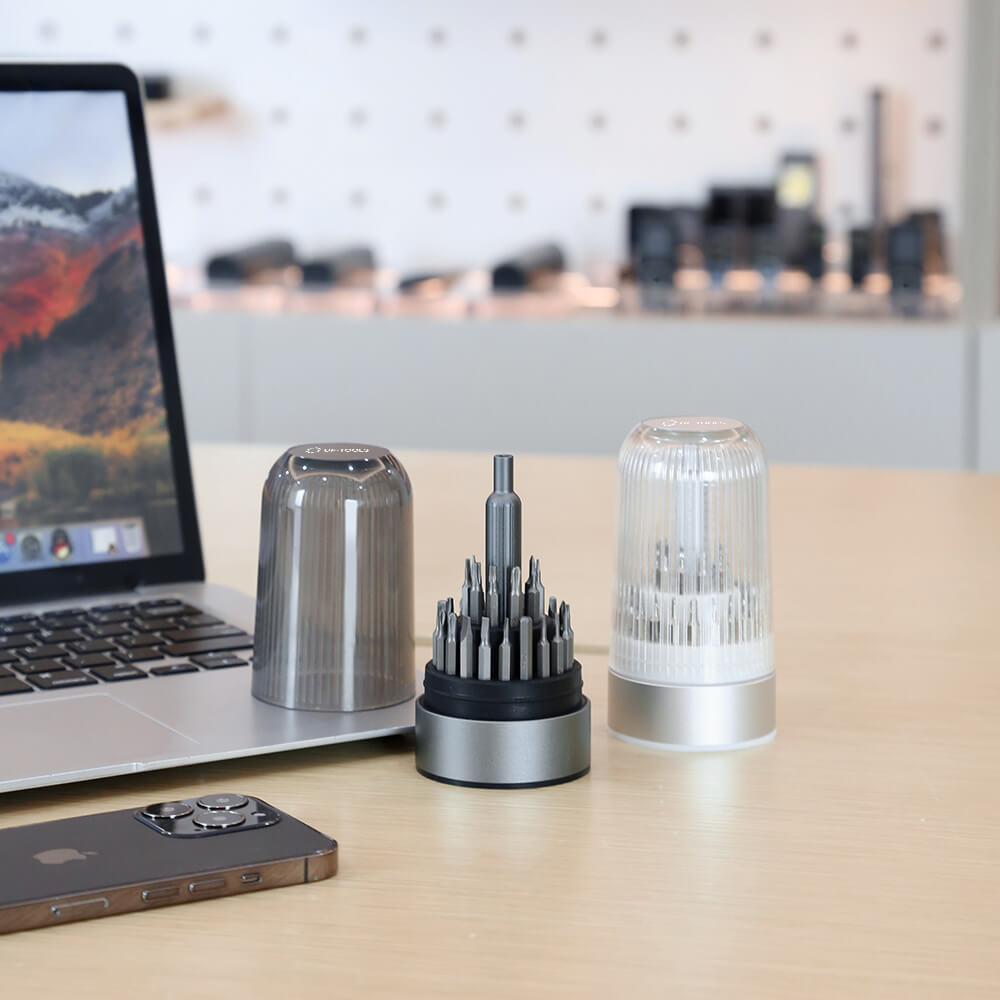
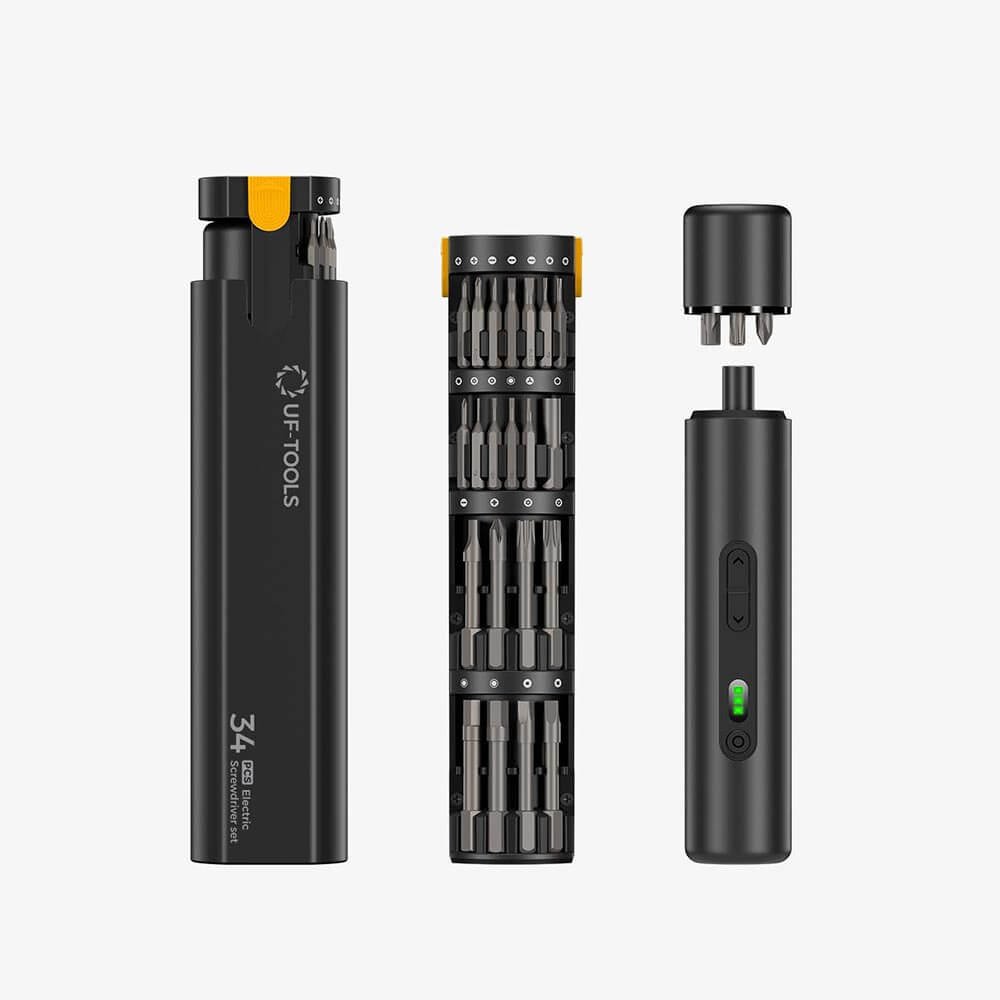
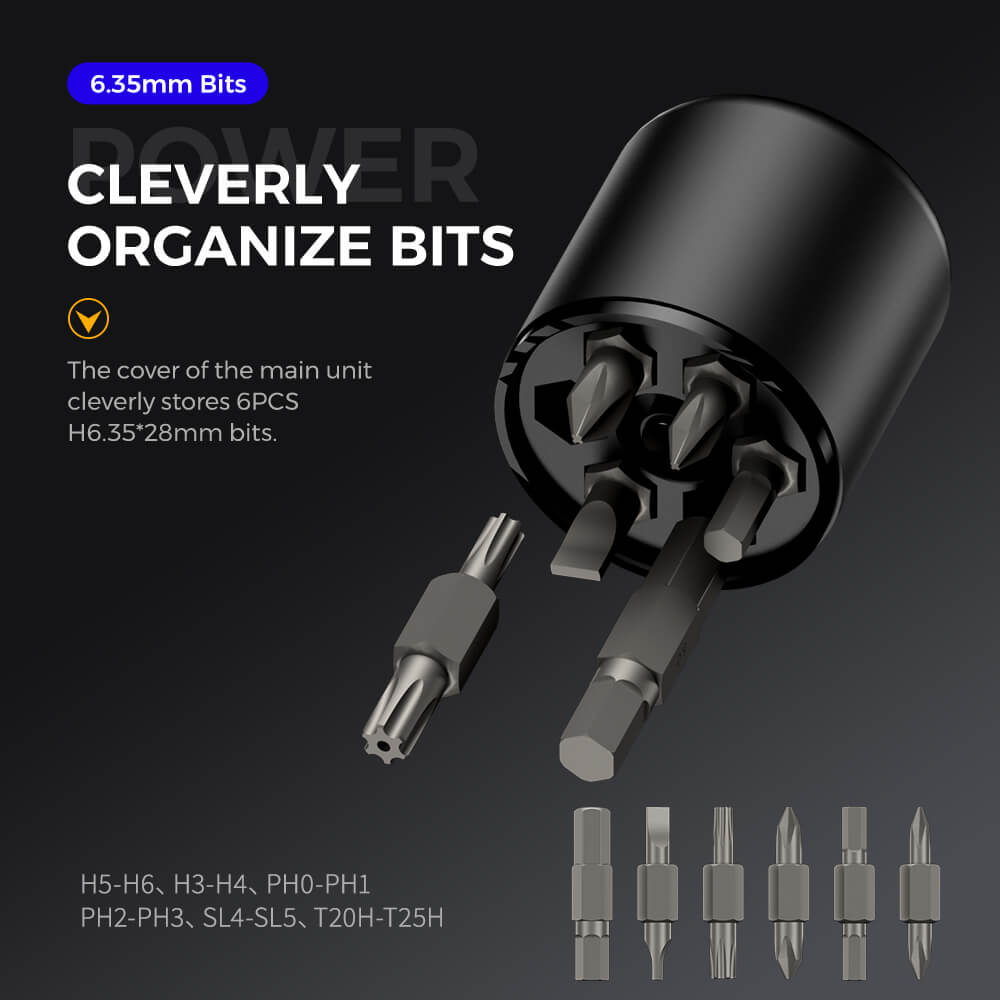
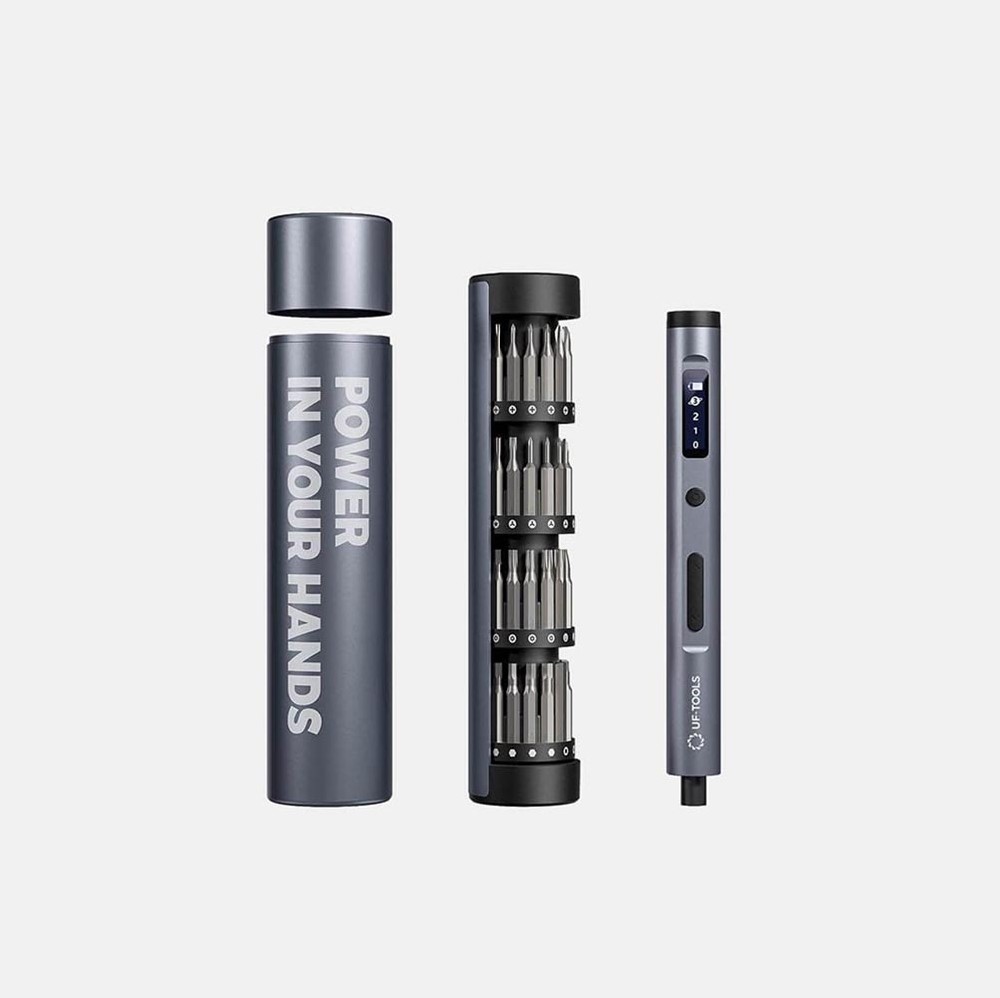
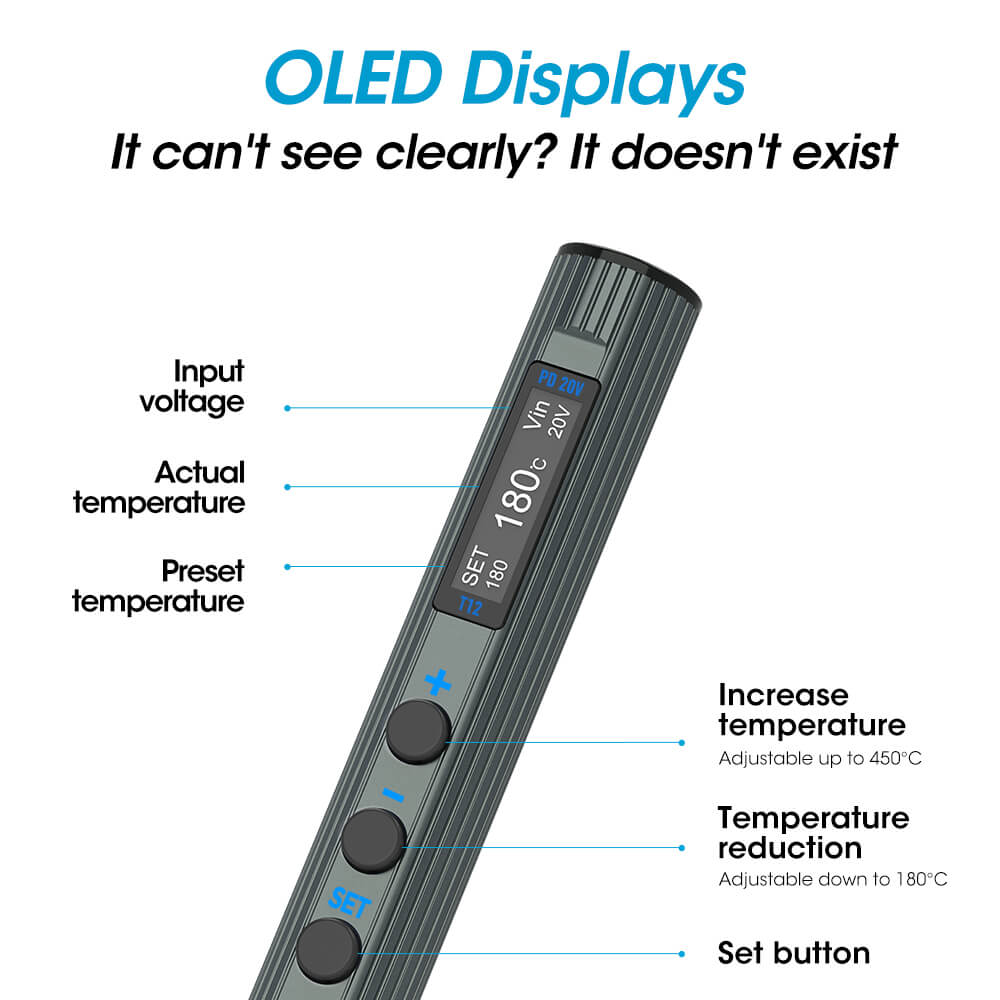
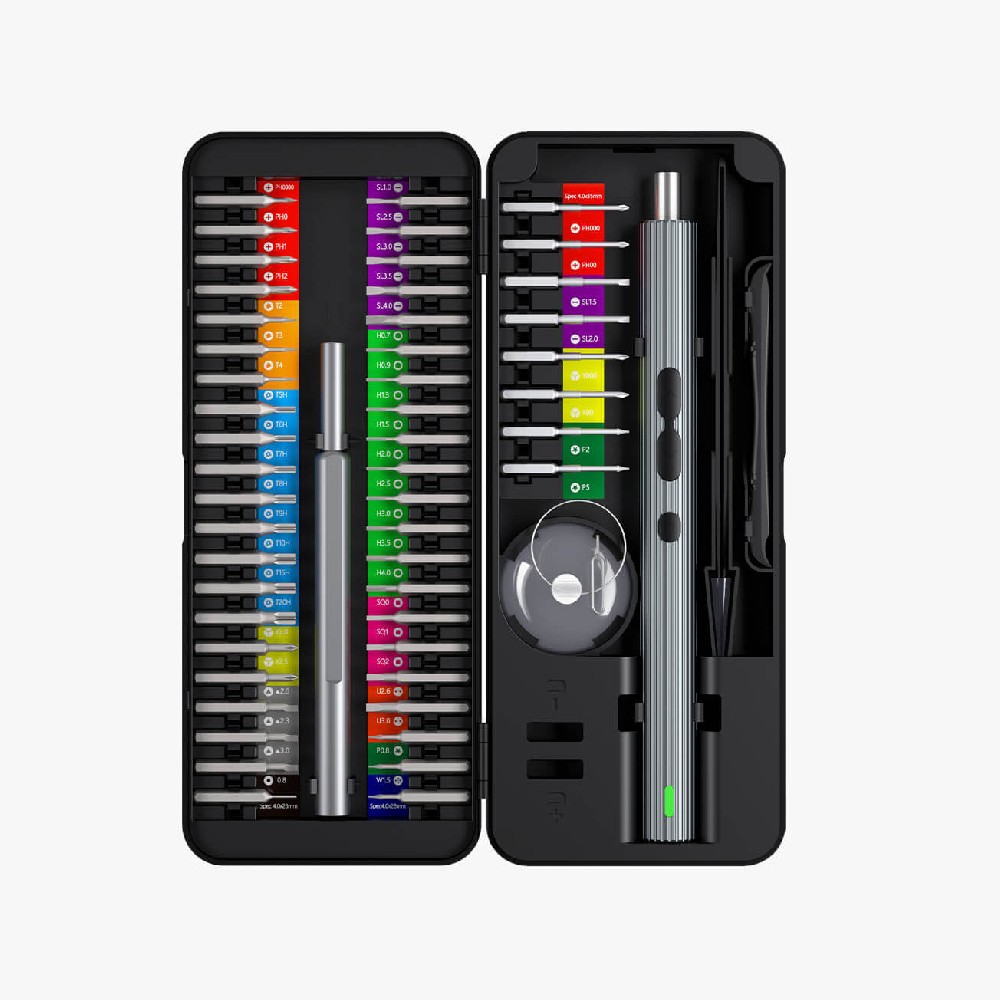
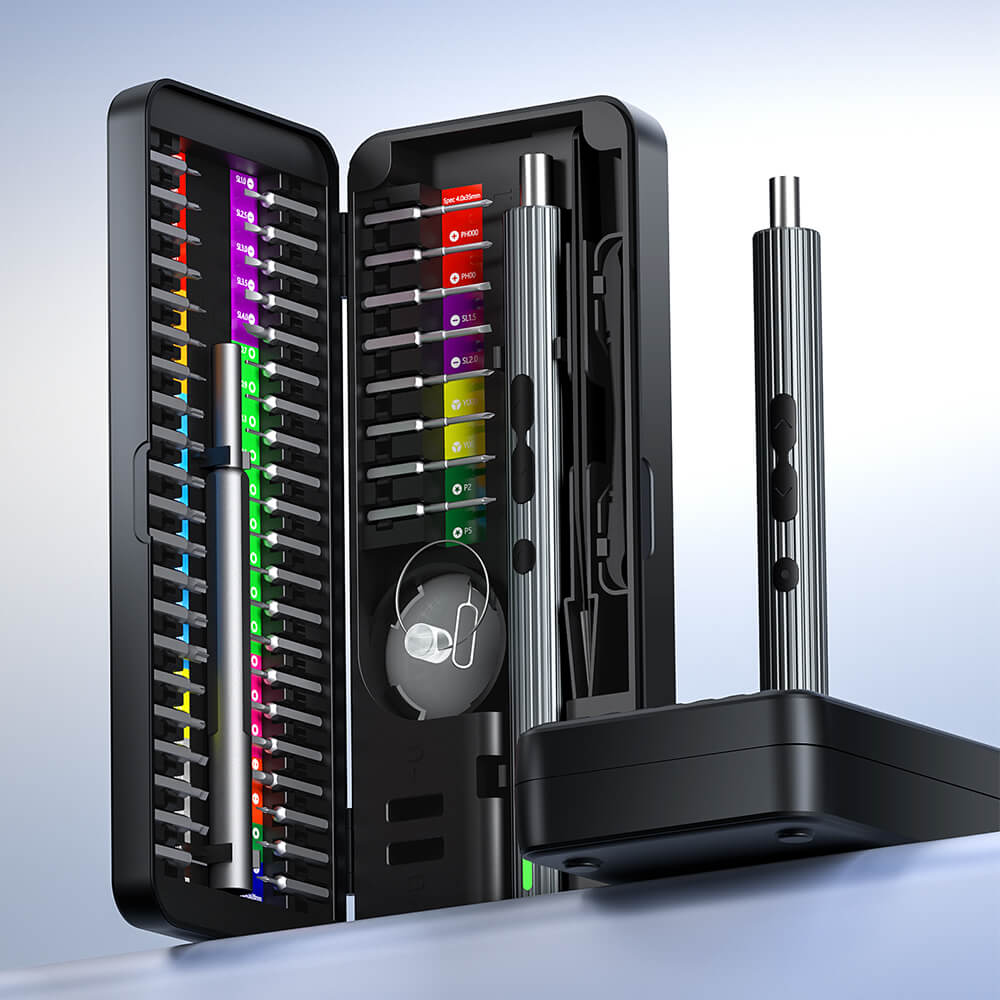
Multifunction
Super Screwdriver
Mainly used in Phone repair, aircraft models repair, quality electronic equipment repair and so on.
View moreNews Feeds
Latest From Blog


BECOME A WHOLESALE PARTNER
Get 10% off on orders over 500 units. We offer exclusive B2B pricing, OEM packaging, mixed batch support, and fast global delivery. Partner with a trusted screwdriver manufacturer to boost your margins.